Getting started in RoboFont ↩
A quick introduction to RoboFont.
Hello, and welcome to RoboFont!
This is a quick ‘n easy introduction to get started with RoboFont. At the end of this page you’ll know all about the main functions you need to create fonts.
- Starting a new font
- Drawing a glyph
- Spacing a glyph
- Writing features
- Using extensions and scripts
- Exporting your fonts
- Error! Something’s not working
It’s possible that you don’t see anything when starting up the application. RoboFont does not automatically open a window when you open it.
Starting a new font
To open a new font, go to your toolbar and click File > New, or press ⌘ + N. An untitled file will open with empty template glyphs.
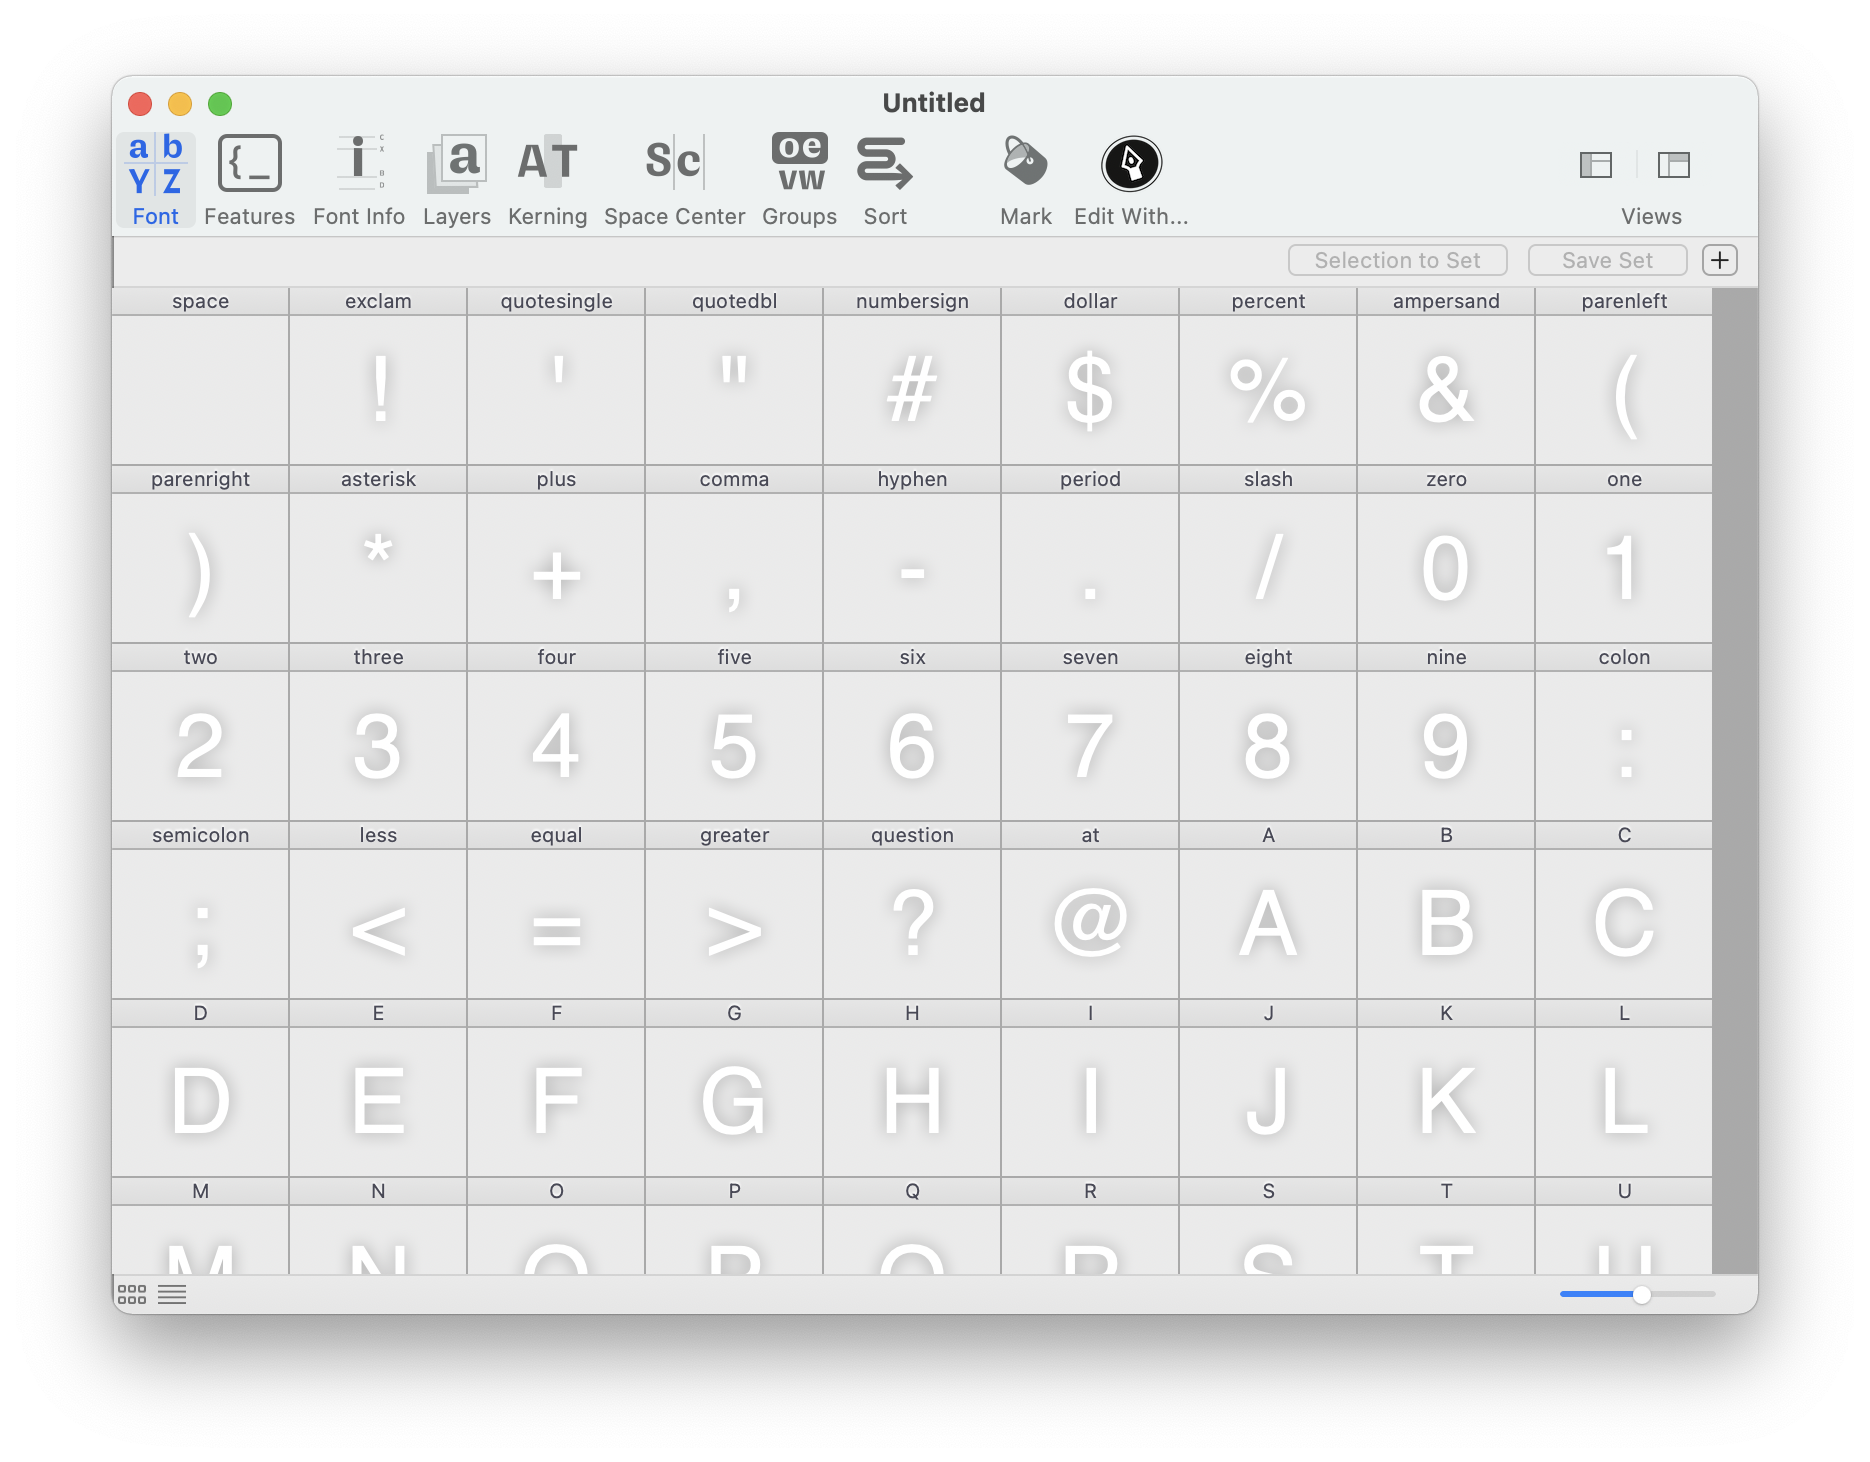
RoboFont uses .ufo as its native font format, and every source has it’s own file.
Before you can export your font, you are required to set the family and style name. Go to the Font Info window by clicking on the icon with the “i” at the top and change the info there.
- Setting font family names — For a more detailed explanation about font naming
Drawing a glyph
Double clicking on a glyph in the Font Overview will open a Glyph Editor.
The Glyph Editor has a bunch of tools at the top:
| Icon | Name | Description |
|---|---|---|

|
To edit visual glyph data such as contours, anchors, components, guidelines, images, etc |
|

|
To draw Bezier contours |
|

|
To add points to contours or cut them apart |
|

|
To draw measurement lines across glyphs. Measurements include the distance, angle and horizontal / vertical projections between intersection points. |
If you click on the button on the right you get on overview of all your layers. Layers can be handy if you want to try out different designs while keeping the original outlines.
You can start a drawing by clicking and dragging. By clicking you draw an on-curve point, by dragging you can draw it’s off-curve points.

Transforming a glyph
To scale, move or rotate a contour, you can enter Transform Mode. Select the Edit Tool, press ⌘ + T, and you’ll see that a red rectangle appear around the selected contour. You can now move or scale the contour. The Transform Mode has multiple options, try to hold ⌥ or ⌥ + ⌘ to access more transformations.
To exit Transform mode, double-click anywhere outside of the transformation box.
- Drawing glyphs ☆ — For a clear explanation of how to draw in RoboFont
- Checking contour quality — For more tips about drawing neat outlines
- Contours — For more information about different point types
Spacing a glyph
It’s very useful to see your glyphs next to each other during drawing or spacingThe process of designing the whitespace in a typeface by adjusting the left and right side-bearings of each glyph., that’s why there is a specific Space Center.
Open Space Center either through Window > Space Center, directly from the font window, or through it’s shortcut ⌘ + ⌥ + S.

The Space Center has lots of different display options to visualize your glyphs, click on the button on the top right to change them.

Typing
/?in the Space Center will display the current active glyph, so you can easily preview the glyph while working in Glyph Editor.
Introduction to spacing - For a detailed introduction of the spacing process
Writing features
Sometimes you want to make your font do special things, like substitute a glyph when a certain combination occurs, or add some language-specific alternates. These are called OpenType features, and you can write them in the Features Editor.

This is a small example to substitute f and i by a fi ligature in a font:
feature liga {
    sub f i by fi;
} liga;
And another example, if you have alternates for a glyph:
feature alt {
    sub a from [a.alt a.alt2];
} alt;
But of course there are many more things you can do with features. Tal Leming, who developed OpenType features, wrote a great introduction: the OpenType Cookbook.
Using extensions and scripts
As you can see, RoboFont is a very down-to-earth glyph editor. It starts from the principle that you are in control of what your own tools look like. That means that you can personalize it almost completely as you like, by adding extensions and writing scripts.
Extensions
There are a lot of extensions available that you can install through the Mechanic extension. Don’t see Mechanic in your extension tab yet? You can download it through the Mechanic webite.
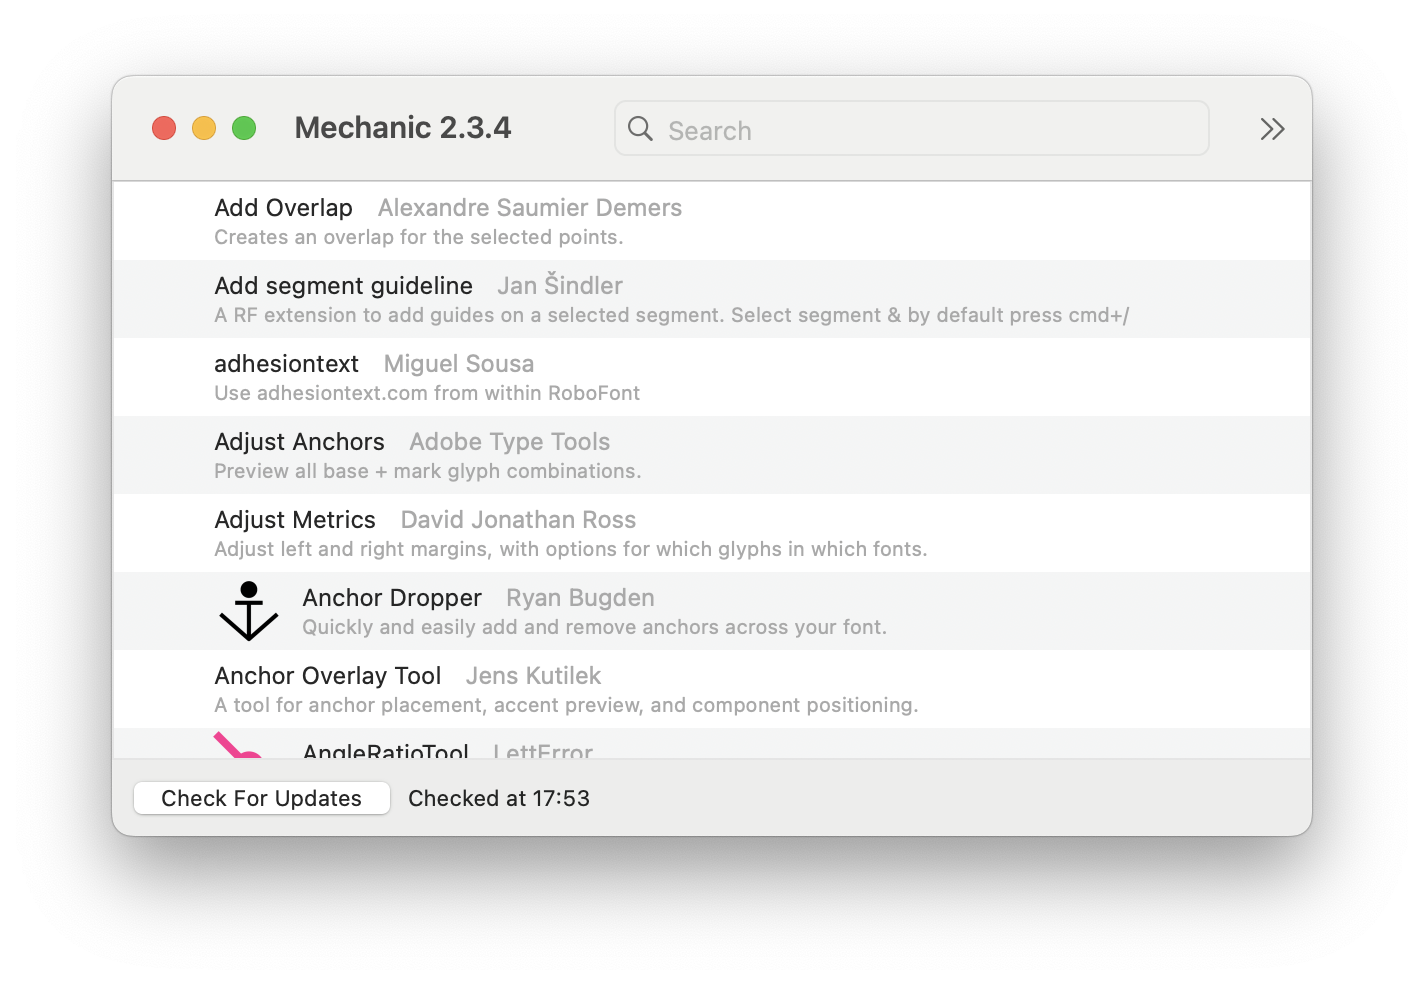
One very useful extension to install is the Shape Tool, this tool allows you to draw circles and rectangles in the Glyph Editor.
You might ask why a shape tool is not automatically included in RoboFont. RoboFont does not want to assume that everyone draws shapes the same way, giving you the freedom to draw shapes exactly how you want them. Read the RoboFont design principles for more about this.
Some more recommended extensions include:
- Batch — To generate fonts in various formats
- DesignspaceEditor — To create and edit .designspace documents, necessary for making variable fonts
- GlyphBrowser — For browsing and selecting unicode values, glyphNames et cetera
Scripts
Making typefaces is a long process with many repetitive tasks, and sometimes the extension that does exactly what you want doesn’t exist… That’s where writing your own python scripts can come in really handy.
For a beginner’s introduction to making your own scripts, go to Coding in RoboFont.
Or check out the RoboFont Script Database! This website contains many publicly available RoboFont scripts to help you in the design process.
- How to get glyphs — How to get glyphs through scripting
- How to get a font — How to get a font through scripting
- Introduction to Python - For an introduction into the Python programming language
Exporting your fonts
Test Install
Before exporting your font files, you might want to test them on your computer first. RoboFont has a special option to test install a font directly on your computer for quick testing. You can find it under File > Test Install. Hold the ⌥ key to use Test Install All.
Generating Fonts
RoboFont has multiple options for generating fonts:
-
The Generate Font function under the File tab — Handy for installing single files.
-
Through the Batch extension (to install with Mechanic) — Very useful for exporting fonts in various formats (such as variable fonts).
-
Generating fonts with a script, using the
font.generatemethod.font = CurrentFont() font.generate("otfcff", "/path/to/my/font.otf")
- Installing test fonts - for more information on test installing your fonts
- Generating fonts — For more information on generating fonts
- Creating variable fonts — A guide for creating variable fonts
Error! Something’s not working
It can happen that your fonts don’t export, some anchor is acting weird, or a script doesn’t work correctly. The first place you should go to check in cases like this is the Output Window.
Any error reports will be printed here, with useful info on what is going wrong.

Not clear how to fix the error? You can always head over to the RoboFont Discord to ask there.