Layers Popover ↩
The features and applications of the Layers popover.

Actions
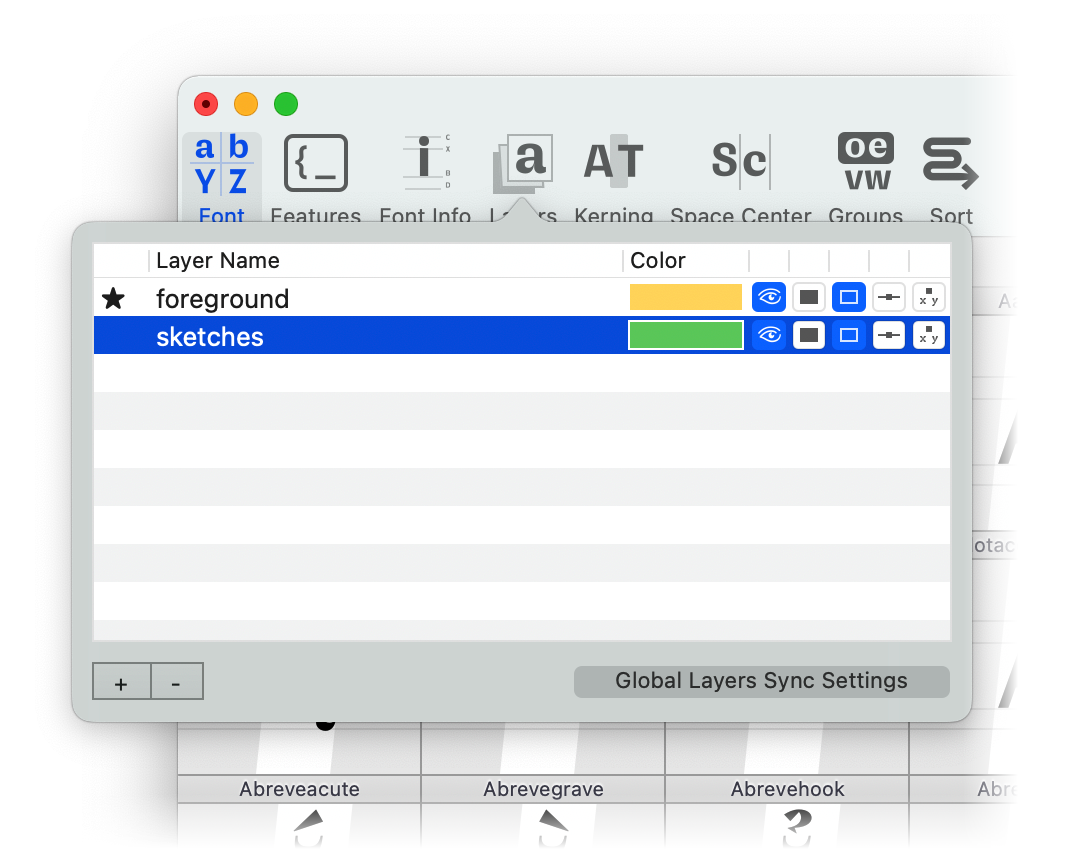
The layers popover allows access to layer data. It is accessible from the Font Overview and the Glyph Editor. Through the layers popover, users can:
| action | description |
|---|---|
| drag and drop | Change the layer order in the font. |
| click and hold | Rename a layer. |
| right click | Open a contextual menu with an option to make the current layer the default one. |
| double click on color | Open a color palette to choose the layer color. |
| + / - | Add or remove a layer. |
| display controls |
Control how the layer is displayed in the Glyph View.
|
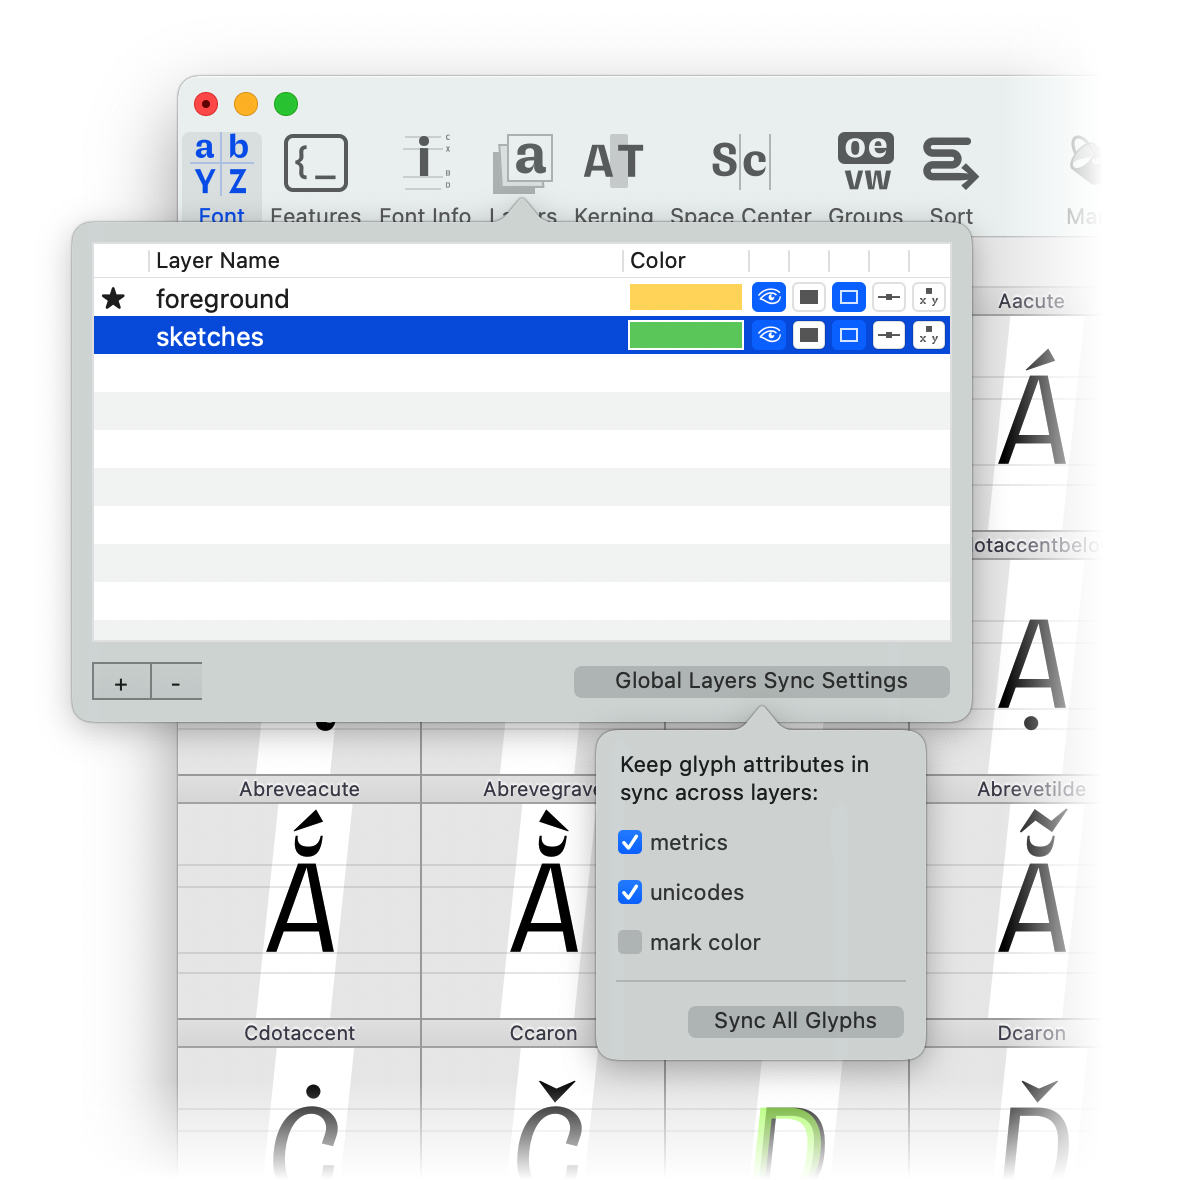
| Global Layers Sync Settings | Control the settings for glyph attributes (metrics, unicodes, mark color) syncing across layers |
Layer names must contain ASCII characters only, and spaces, slashes and semicolons are not allowed.
Users are restricted from setting another layer as the default if the font already contains a layer named
public.default. RoboFont will not be able to save the UFO file.
Global Layers Sync Settings

The Global Layers Sync Settings popover allows to control which glyph attributes will be synced once edited. For example, consider the following layers structure for glyph A
A (foreground)         A (background)         A (sketches)
  unicode: U+0041        unicode: None          unicode: None
  color: red             color: blue            color: blue
  width: 400             width: 450             width: 350
if you edit the width of A (sketches) to 380 (with metrics as a synced attribute), it will result in:
synced attribute: metrics

BEFORE                  AFTER
A (foreground)      →   A (foreground)
  unicode: U+0041   →     unicode: U+0041
  color: red        →     color: red
  width: 400        →     width: 380
                    →
A (background)      →   A (background)
  unicode: None     →     unicode: U+0041
  color: blue       →     color: blue
  width: 450        →     width: 380
                    →
A (sketches)        →   A (sketches)
  unicode: None     →     unicode: U+0041
  color: violet     →     color: violet
  width: 350        →     width: 380
Be aware that template glyphs have a special behaviour, a so-called edge case. When a user jumps to a non-existing glyph in a layer, RoboFont creates a template glyph first. If any Global Layer Sync setting is on, the template glyph will inherit the synced attributes from the glyph in the default layer.
For example:
- Only the metrics are synced in Global Layers Sync Settings popover and foreground is the default layer
- User reaches S (foreground) in the glyph editor
- User jumps to S (background) in the glyph editor, but S (background) does not exist
- RoboFont will create a template glyph first (than a real glyph once editing starts to happen) and the template glyph will inherit the metrics from S (foreground) because it sits in the default layer
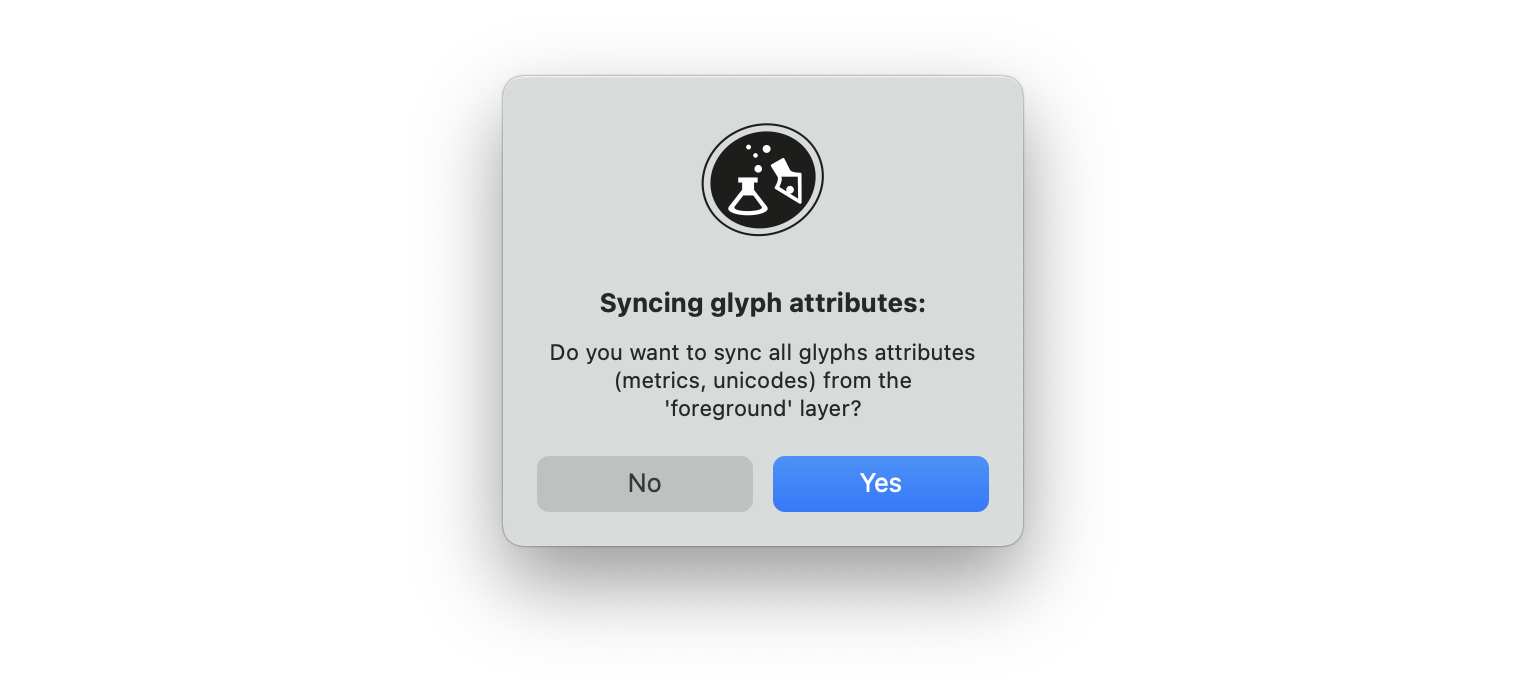
Sync All Glyphs

The Sync All Glyphs button will align the selected attributes of each glyph belonging to a non-default layer, to the attributes of the glyph equally named belonging to the default layer (if existing). For example:
default layer: foreground
selected attributes: metrics, unicodes

BEFORE                  AFTER
A (foreground)      →   A (foreground)
  unicode: U+0041   →     unicode: U+0041
  color: red        →     color: red
  width: 400        →     width: 400
                    →
A (background)      →   A (background)
  unicode: None     →     unicode: U+0041
  color: blue       →     color: blue
  width: 450        →     width: 400
Display Options
Use the icon buttons to toggle different display attributes for layers:
| icon | layer attributes |
|---|---|
 |
visibility |
 |
fill |
 |
stroke |
 |
points |
 |
point coordinates |
Contextual Menu
Right-click on a layer to open a contextual menu with the option to make that layer the default one.
