Font Overview ↩
The Font Overview is the parent window for a font in the RoboFont UI. It displays all glyphs in the font as a grid of cells, and gives access to different tools and interfaces for editing various kinds of data in the font.
Toolbar

The toolbar allows you to navigate between different editing interfaces in RoboFont:
| button | action |
|---|---|
| Font | Switch to the Font Overview. |
| Features | Switch to the Features Editor. |
| Font Info | Show the Font Info sheet. |
| Layers | Show the Layers Popover. |
| Space Center | Open the Space Center. |
| Kern Center | Show the Kern Center. |
| Groups | Show the Groups Editor. |
| Sort | Show the Sort Glyphs sheet. |
| Mark | Show a popup menu with mark colors. |
| Sets | Toggle the Smart Sets panel. |
| Find | Toggle the Search Glyphs panel. |
In Single Window mode, the Views buttons are located at the bottom left of the window, and the toolbar also includes the Glyph Editor’s editing tools.
Display Modes
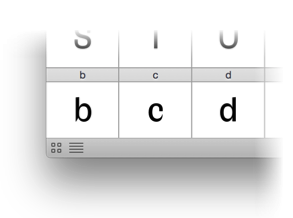
The Font Overview has two display modes: Tiled Glyphs and Glyph List. Click on the icons at the bottom left of the window to switch between the two modes.
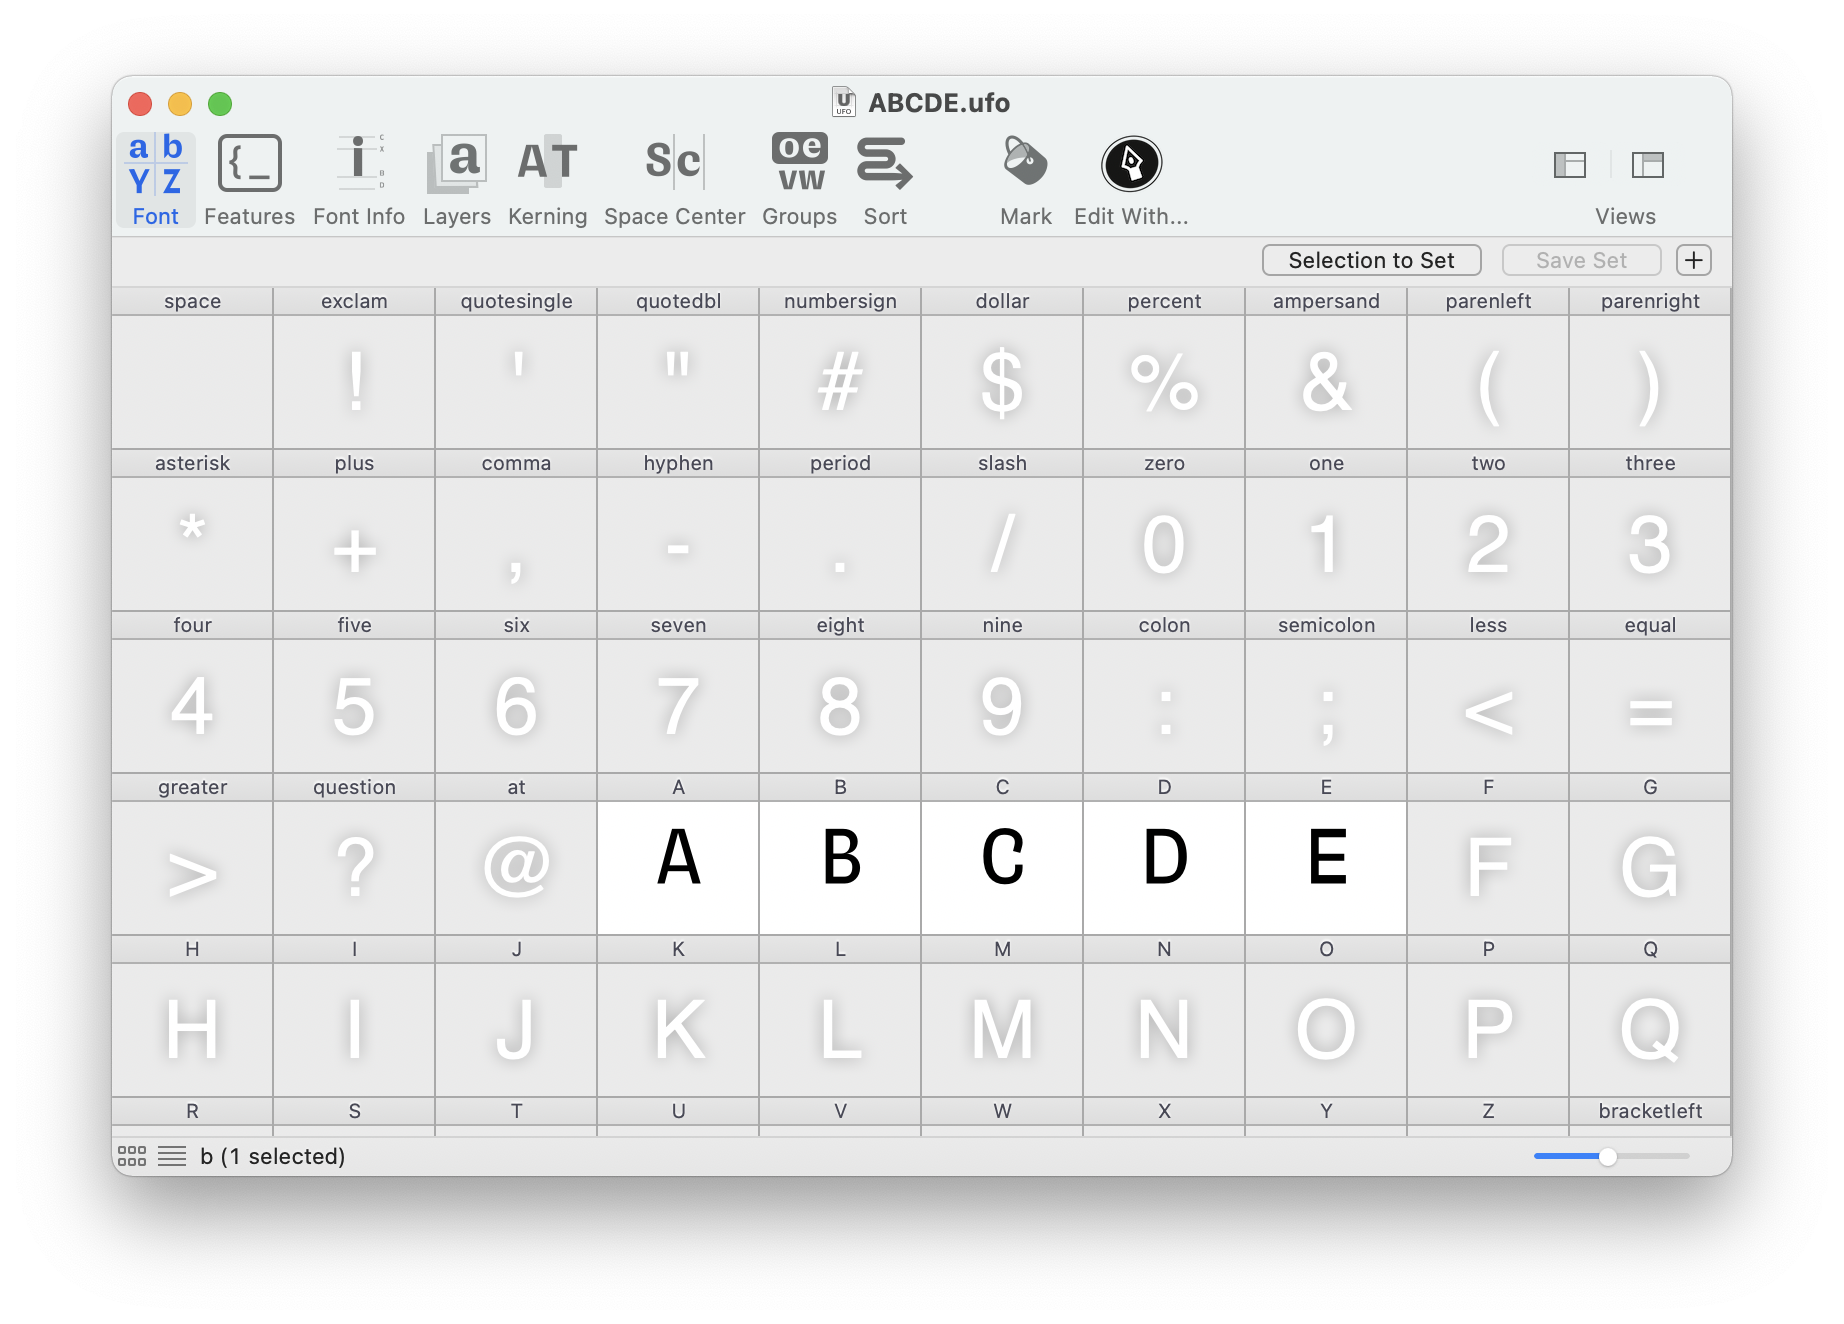
Tiles Mode
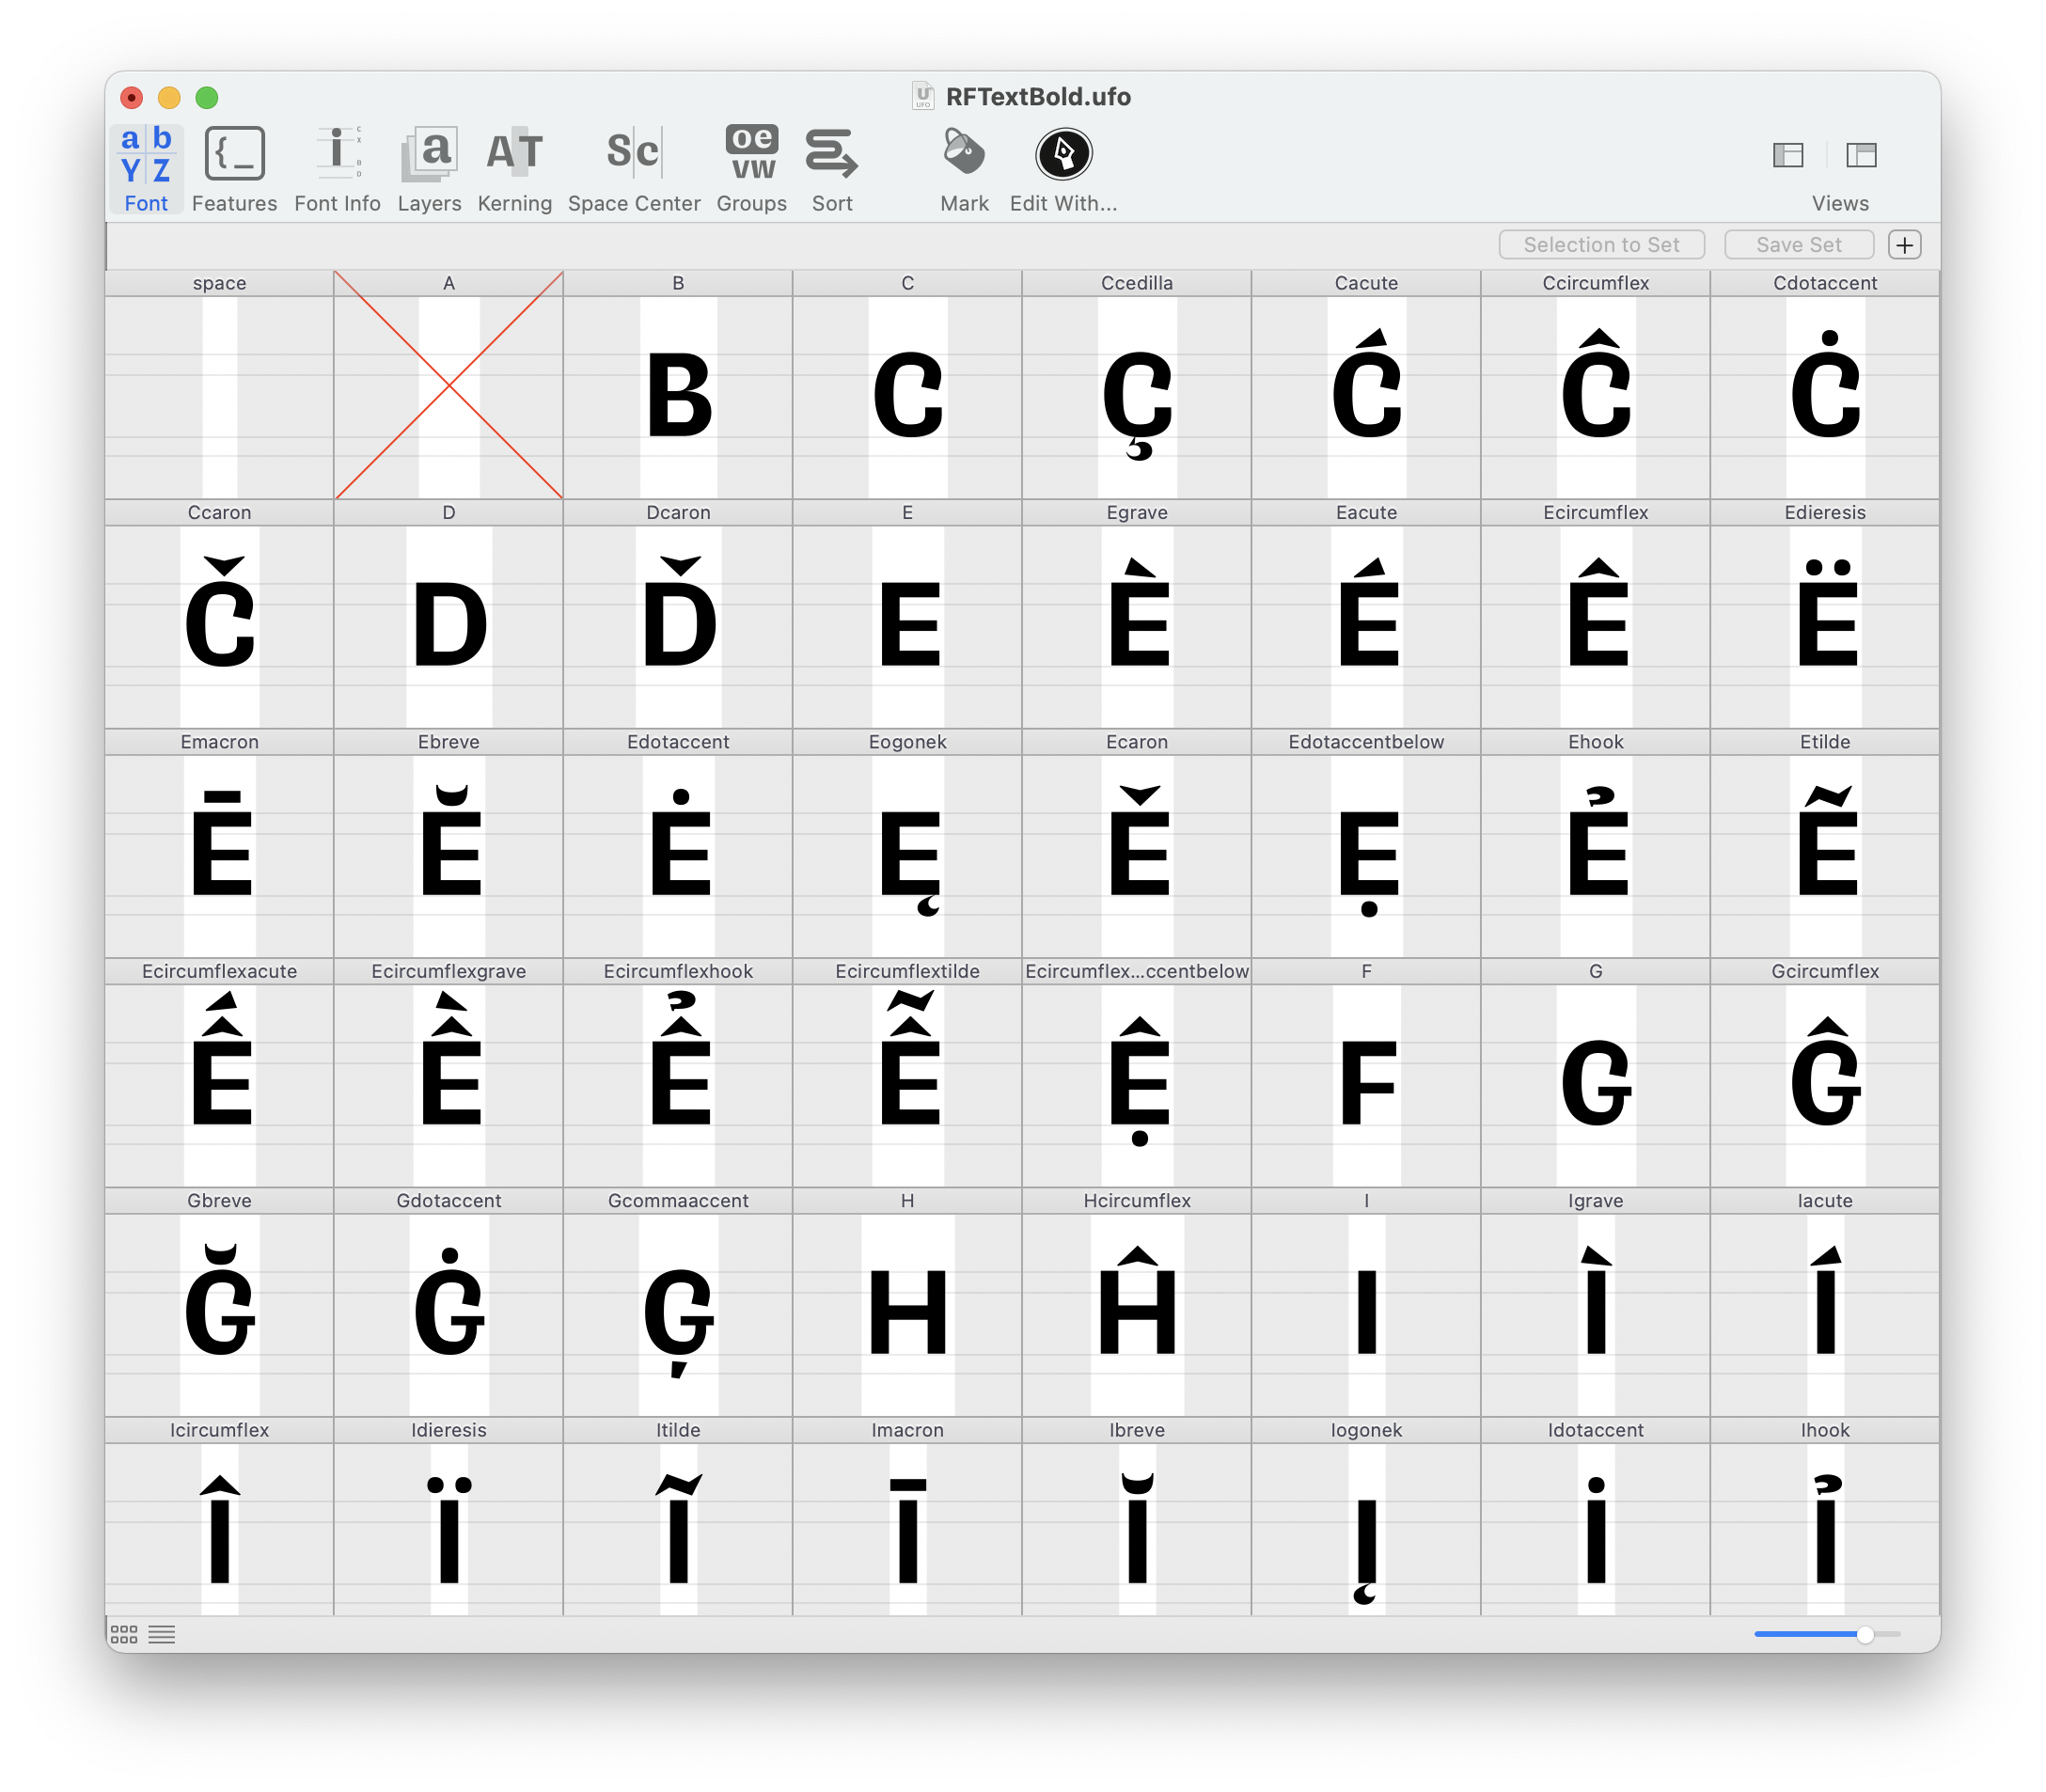
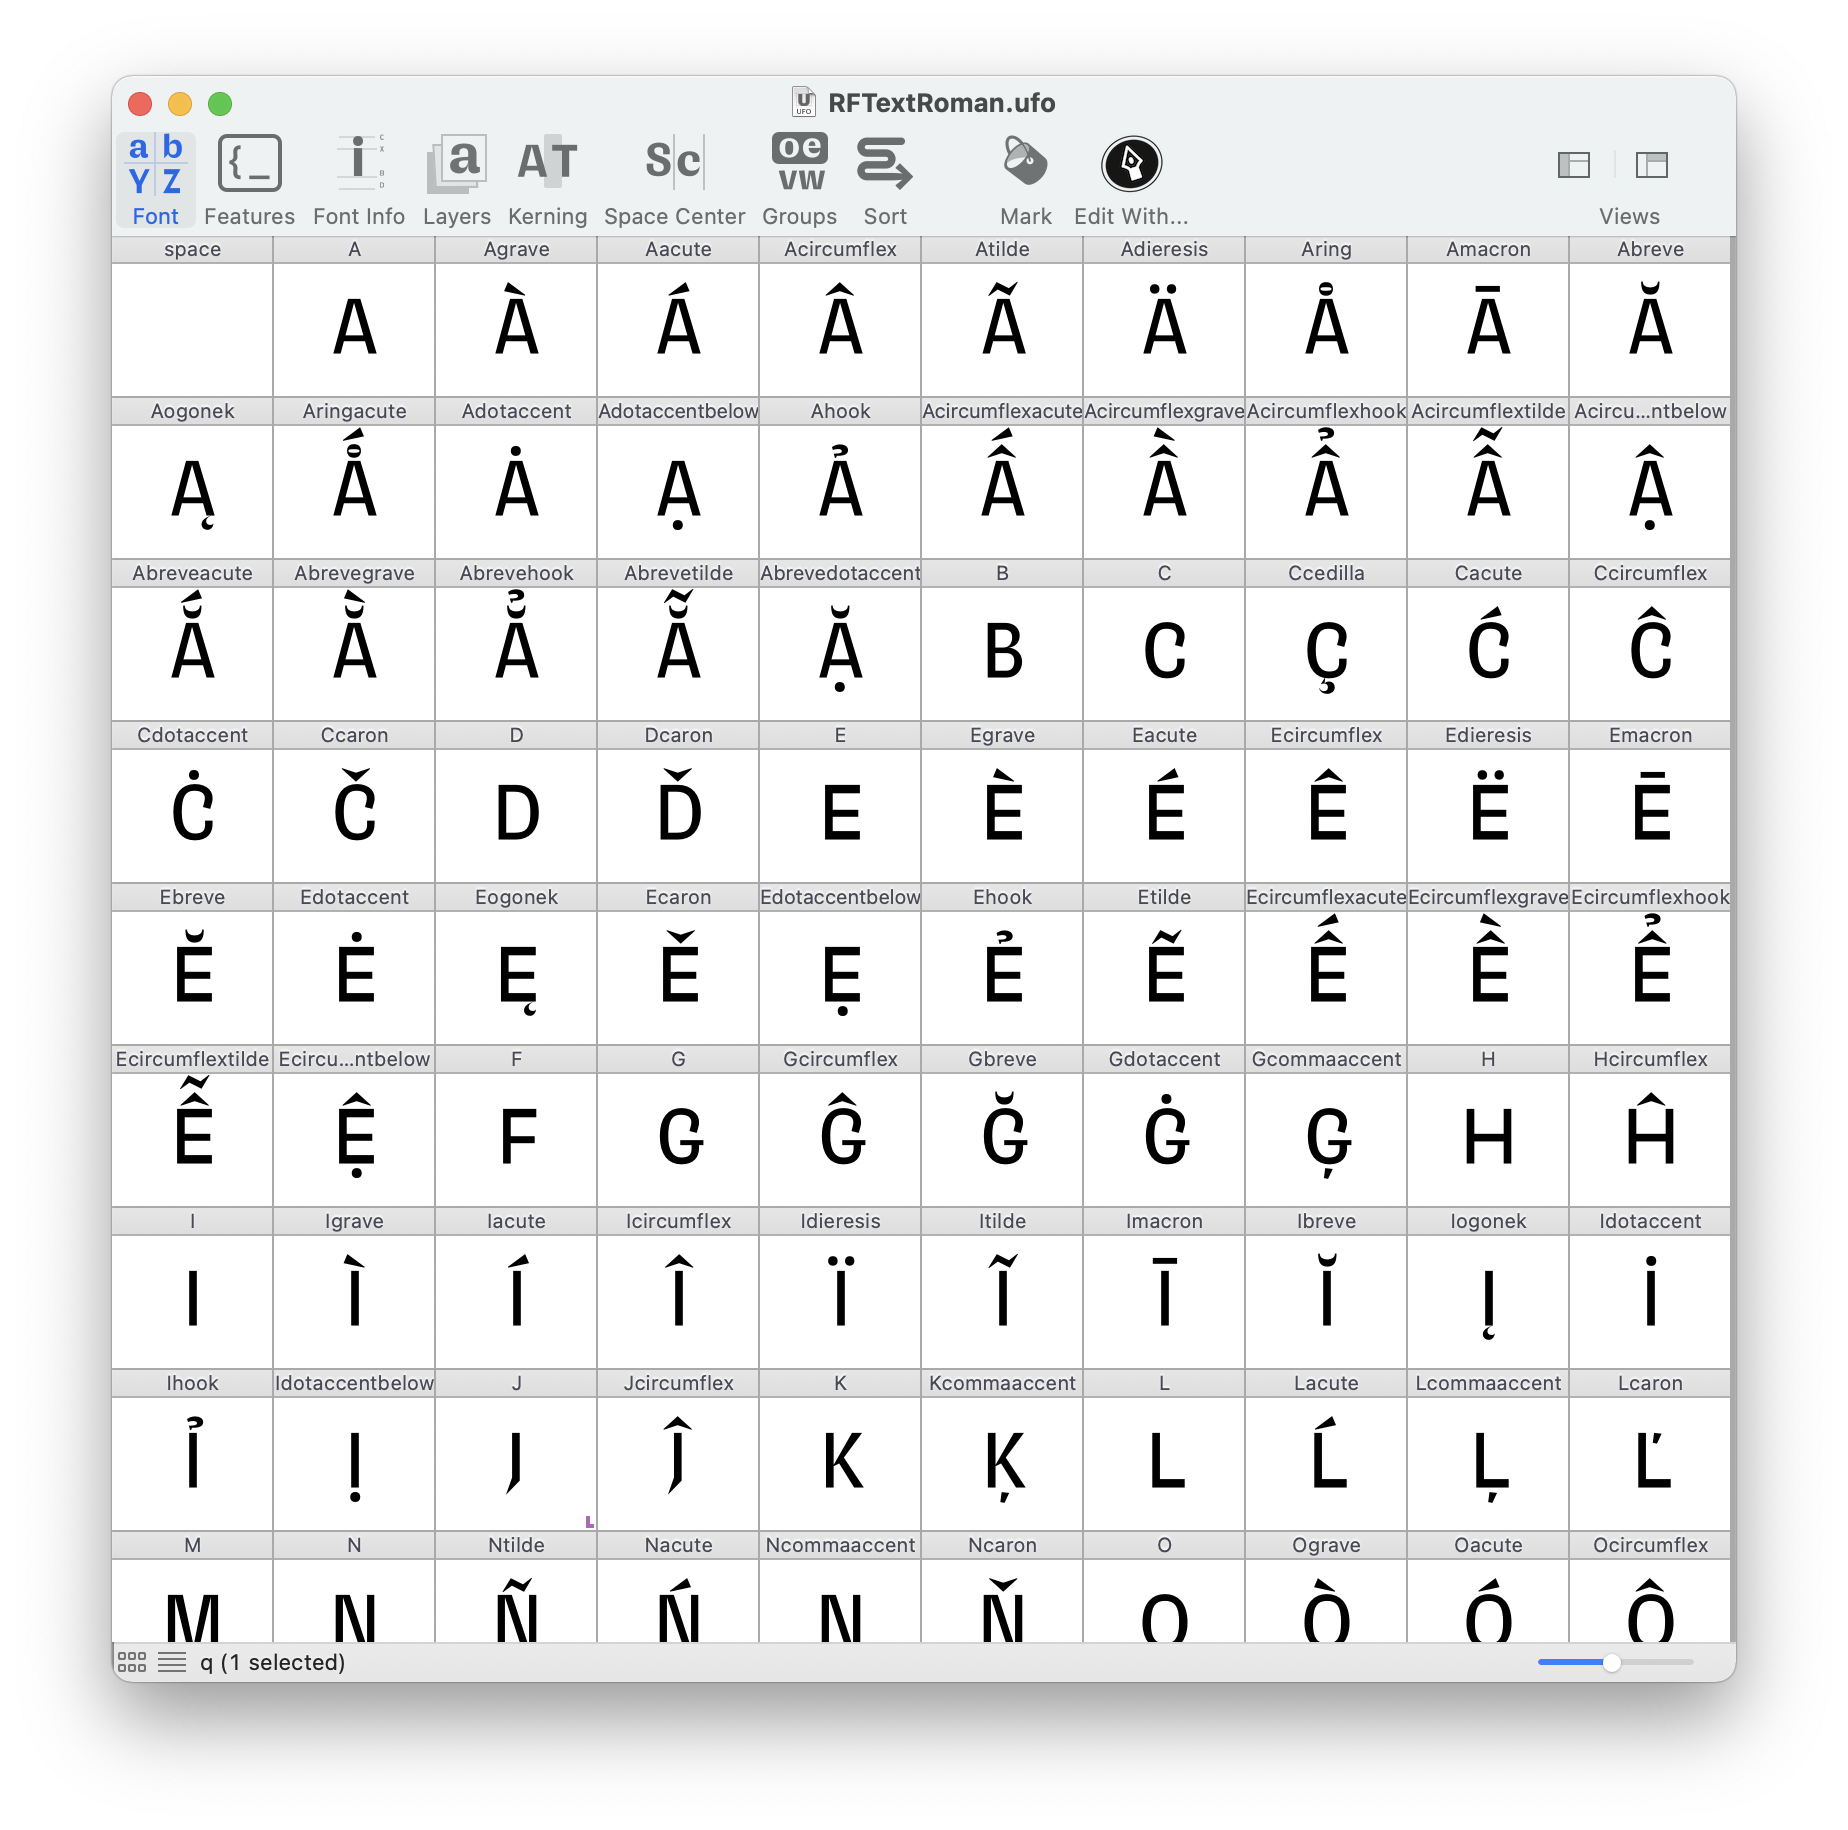
The Tiles Mode shows the font as a grid of glyph cells. The size of the cells can be adjusted by zooming in and out with the keyboard (using ⌘+ and ⌘-) or using the slider at the bottom right of the window.
-
Large cells show several layers of data: glyph name, glyph shape, width and margins, layers, vertical metrics. Smaller cells show only the glyph shape.
-
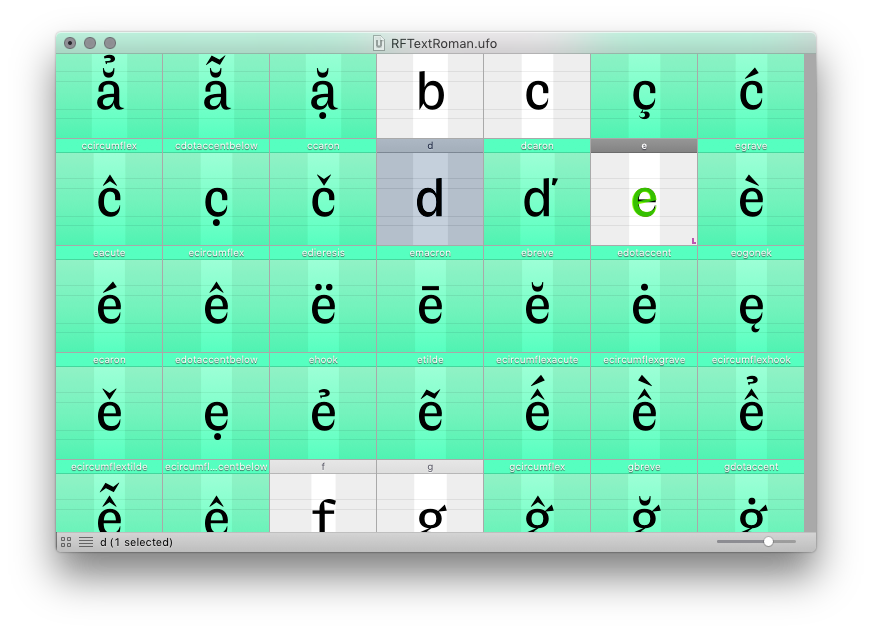
Unsaved glyphs have their names highlighted until the font is saved again.
-
The glyph’s mark color is used as the background color of the cell.
-
A small L indicates that the glyph contains more than one layer.
-
A small N indicates that the glyph contains a note.
-
A small X indicates that the glyph will not be exported when generating fonts.
List Mode
The List Mode displays the font as a large table with the attributes of each glyph.
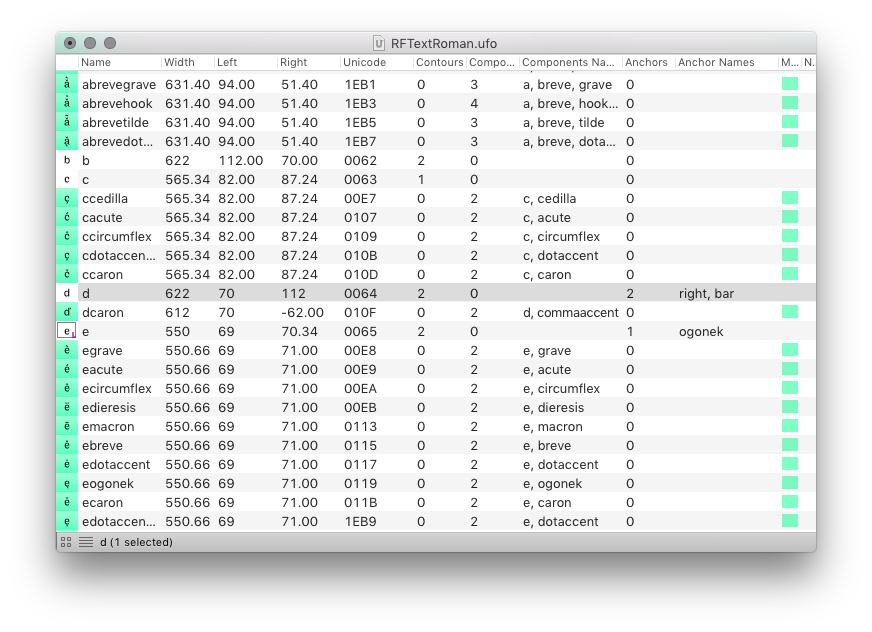
Click on the column headers to sort the glyphs according to different attributes.
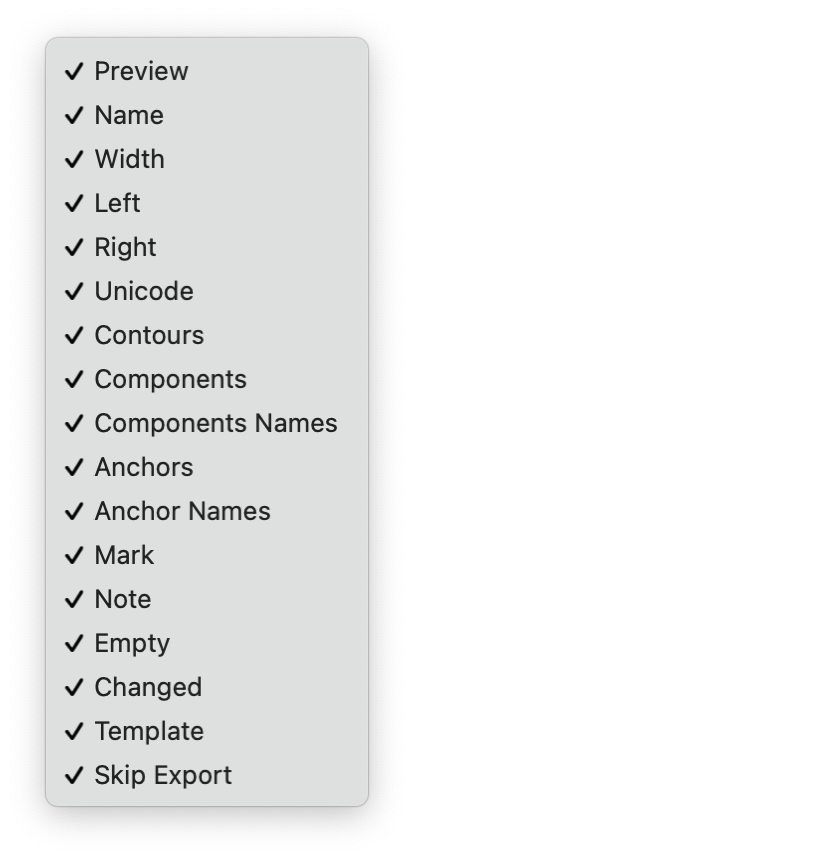
Individual columns can be toggled using the table’s contextual menu (right-click the table header to open it):
Actions
| action | description |
|---|---|
| single click | Select single glyph. |
| ⌥ + single click (Multi‑Window mode) | Opens a new Glyph Window. |
| single click (Single Window mode) | Select single glyph and send it to the Glyph View. |
| double click (Single Window mode) | Send the glyph to the Glyph View. |
| click + drag |
Drag the selection on the same Font Overview:
|
| ⌘ + click + drag | Modify the selection while moving the mouse. |
| ⌘ + c | Copies the selected glyphs to the clipboard as glyph objects, and the glyph names as string representation. |
| ^ + ⌘ + c | Copy from layer. Triggers a popup window with layer names from which you can copy the objects |
| copy as component | Copies the selected glyph as component (single glyph selection only). |
| ⌘ + v |
|
| ^ + ⌘ + v | Paste to layer. Triggers a popup window with layer names to which you can copy what's in the clipboard |
| undo/redo | Undo or redo the selected glyph(s). |
| start typing a glyph name | Tries to find and select that glyph. |
| ⌘ + J | Opens a Jump To Glyph window. |
| backspace | Remove the glyph from the font. |
| ⌥ + backspace | Remove the glyph from the font and the template glyph from the Font Overview. |
| ⌃ + backspace | Remove the glyph in all layers from the font. |
| ⌃ + ⌥ + backspace | Completely remove a glyph from a font including layers, kerning and groups. |
Template glyphs
The Font Overview may show template glyphs – glyphs which are part of the current character set, but are not yet included in the font.
Template glyphs are displayed in grey cells and show a preview glyph in a standard font. The font can be changed in the Font Overview Preferences.
To transform a template glyph into an actual glyph, double-click its glyph cell to open the Glyph Editor and start drawing, or change some glyph data using the Inspector.
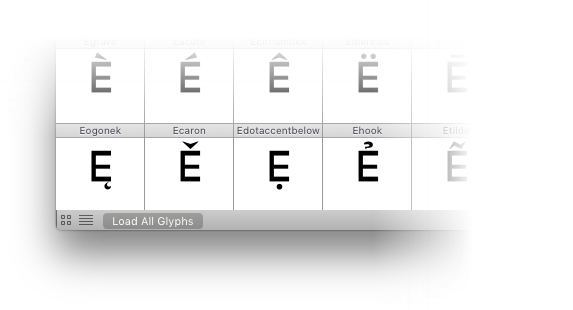
Load All Glyphs
When a font containing more glyphs than the Max glyph count limit is opened, a small button labeled Load All Glyphs will appear at the bottom left of the window
Errors
The Font Overview Window reports errors in GLIF XML data drawing a red cross over the glyph cell.