The drawing environment ↩
A quick overview of RoboFont’s drawing environment.
Drawing is done in the Glyph Editor, which can be opened by double clicking on any glyph cell in the Font Overview.
Navigation
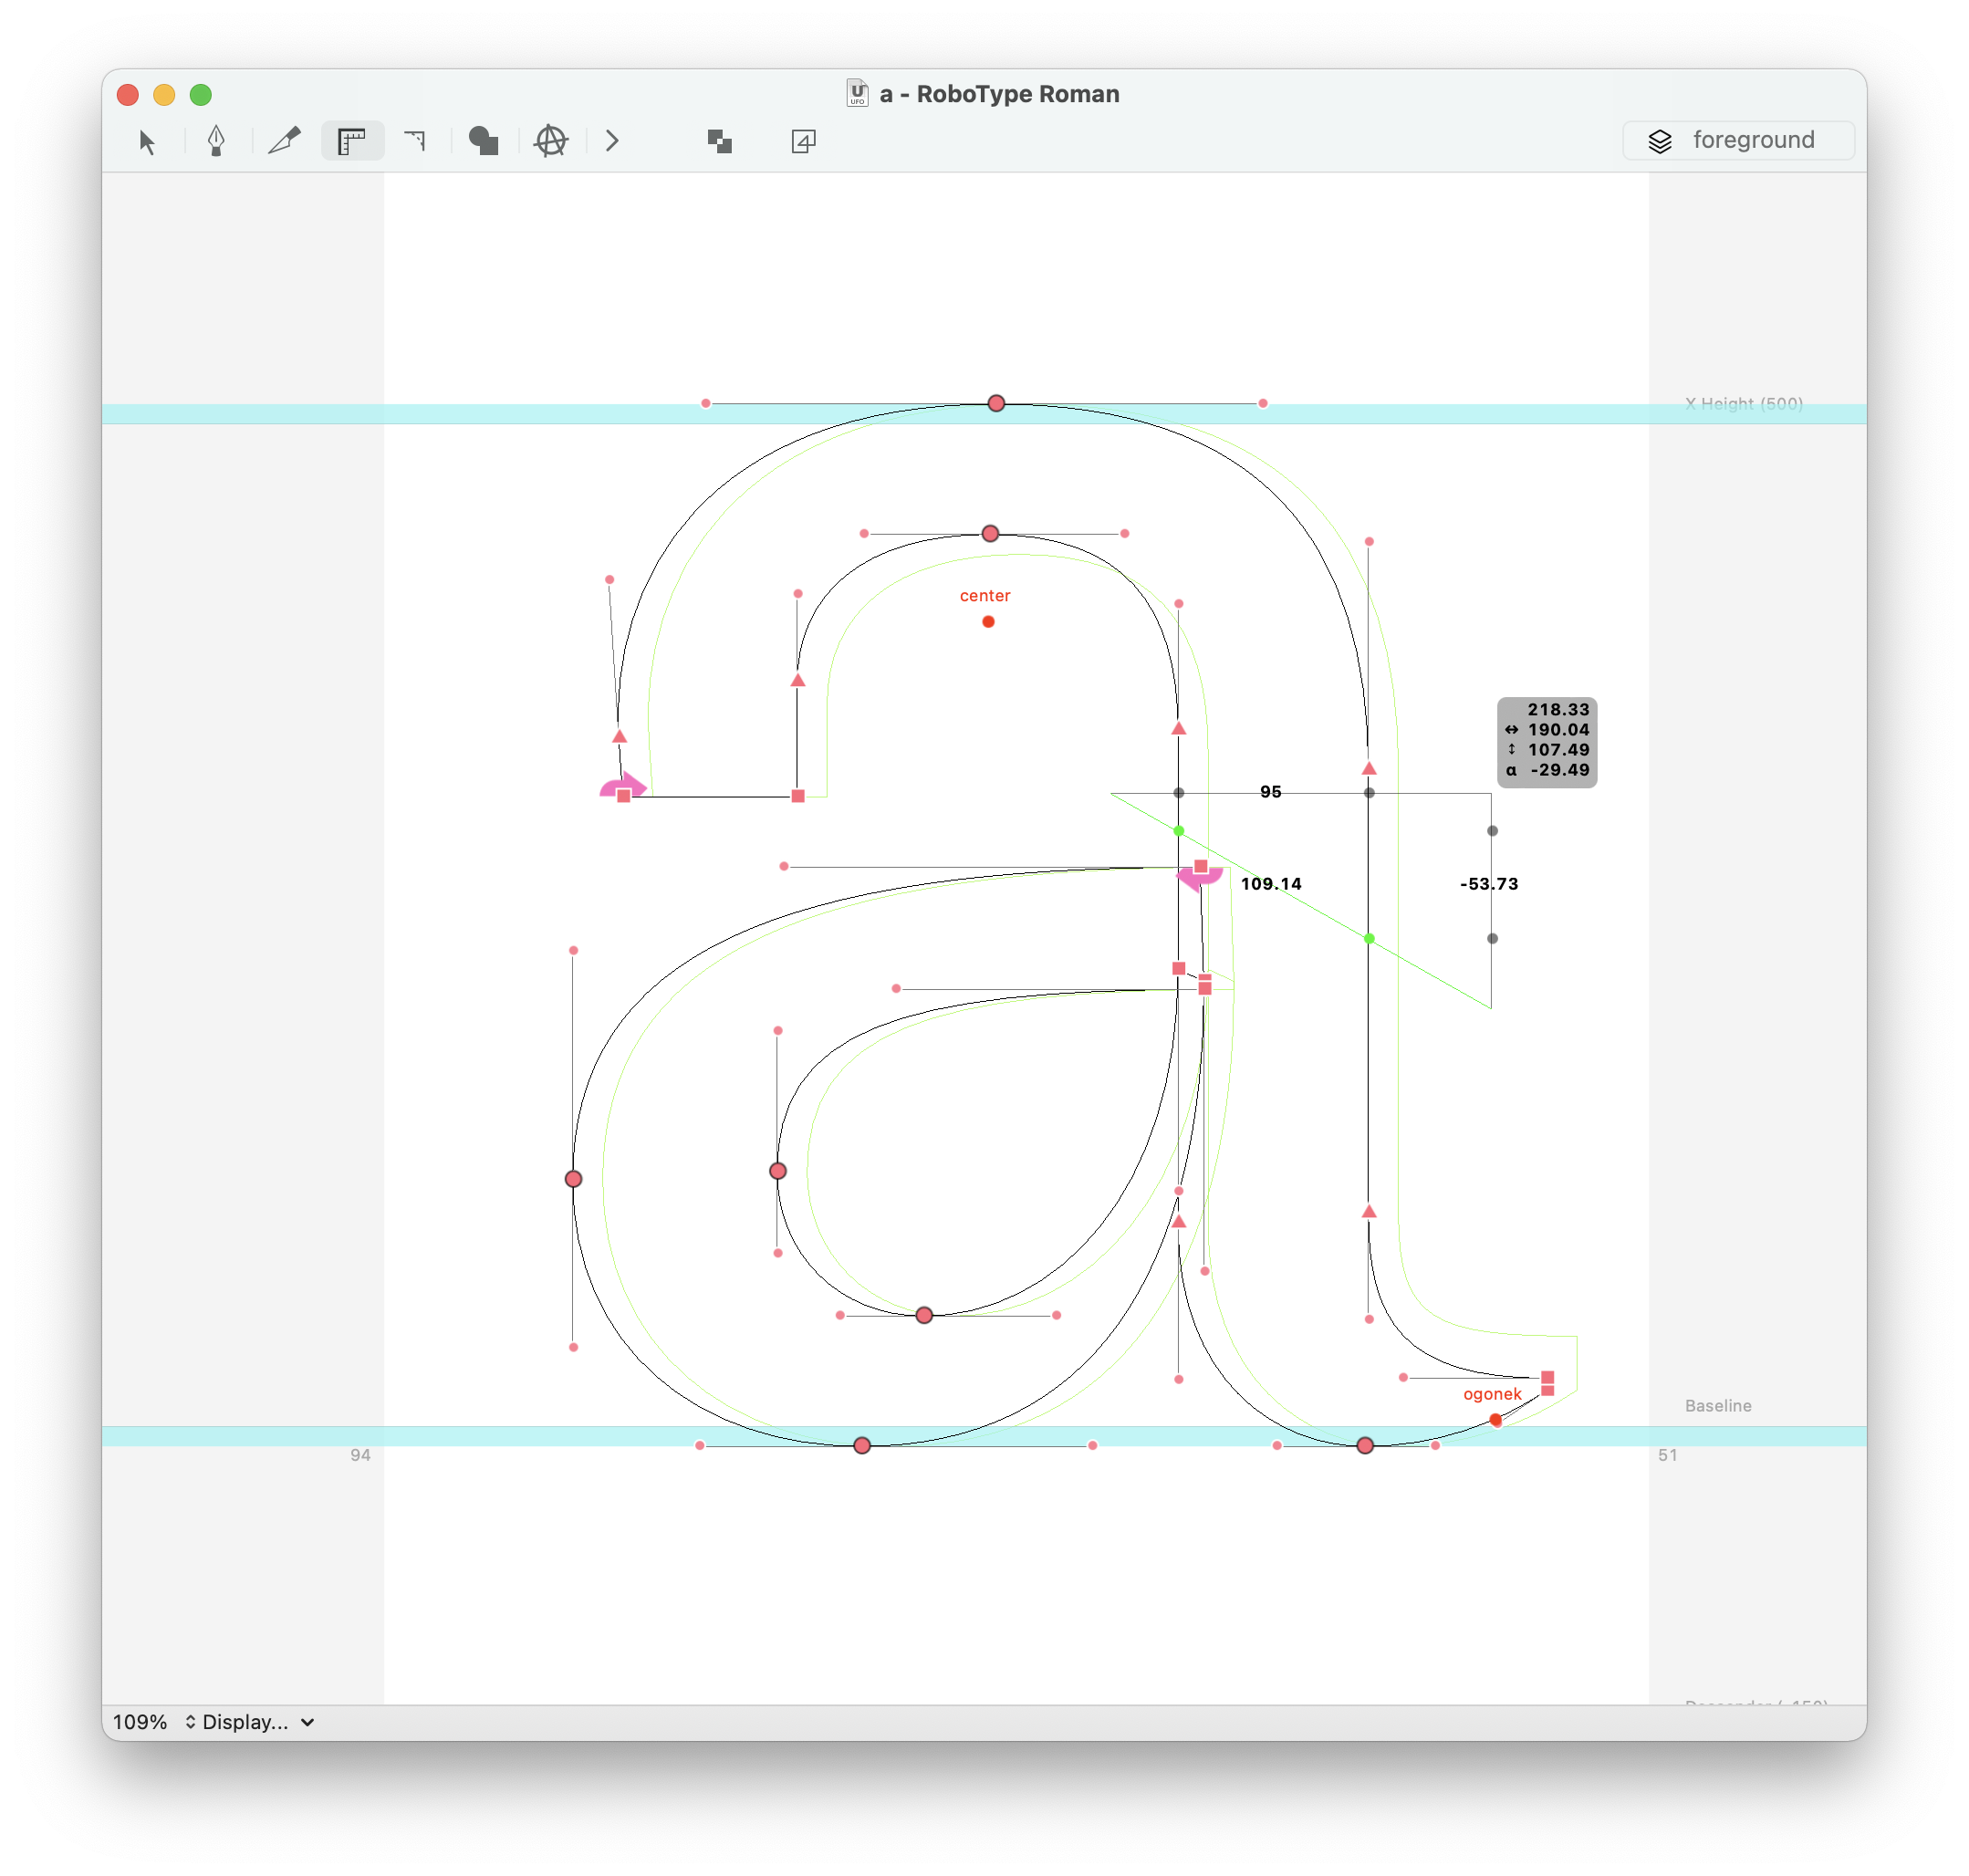
While working in the Glyph Editor, you can easily switch to other glyphs and layers using keyboard shorcuts.
- Previous / next glyph
- Use the shortkeys
Cmd )andCmd (to go to the next / previous glyphs. - Jump to glyph
- Press
Jto open the Jump to glyph pop-up window to go to any other glyph in the font. Start typing the glyph name, and the dialog will show a list of possible glyphs to choose from. - Jump to layer
- Use the shortkeys
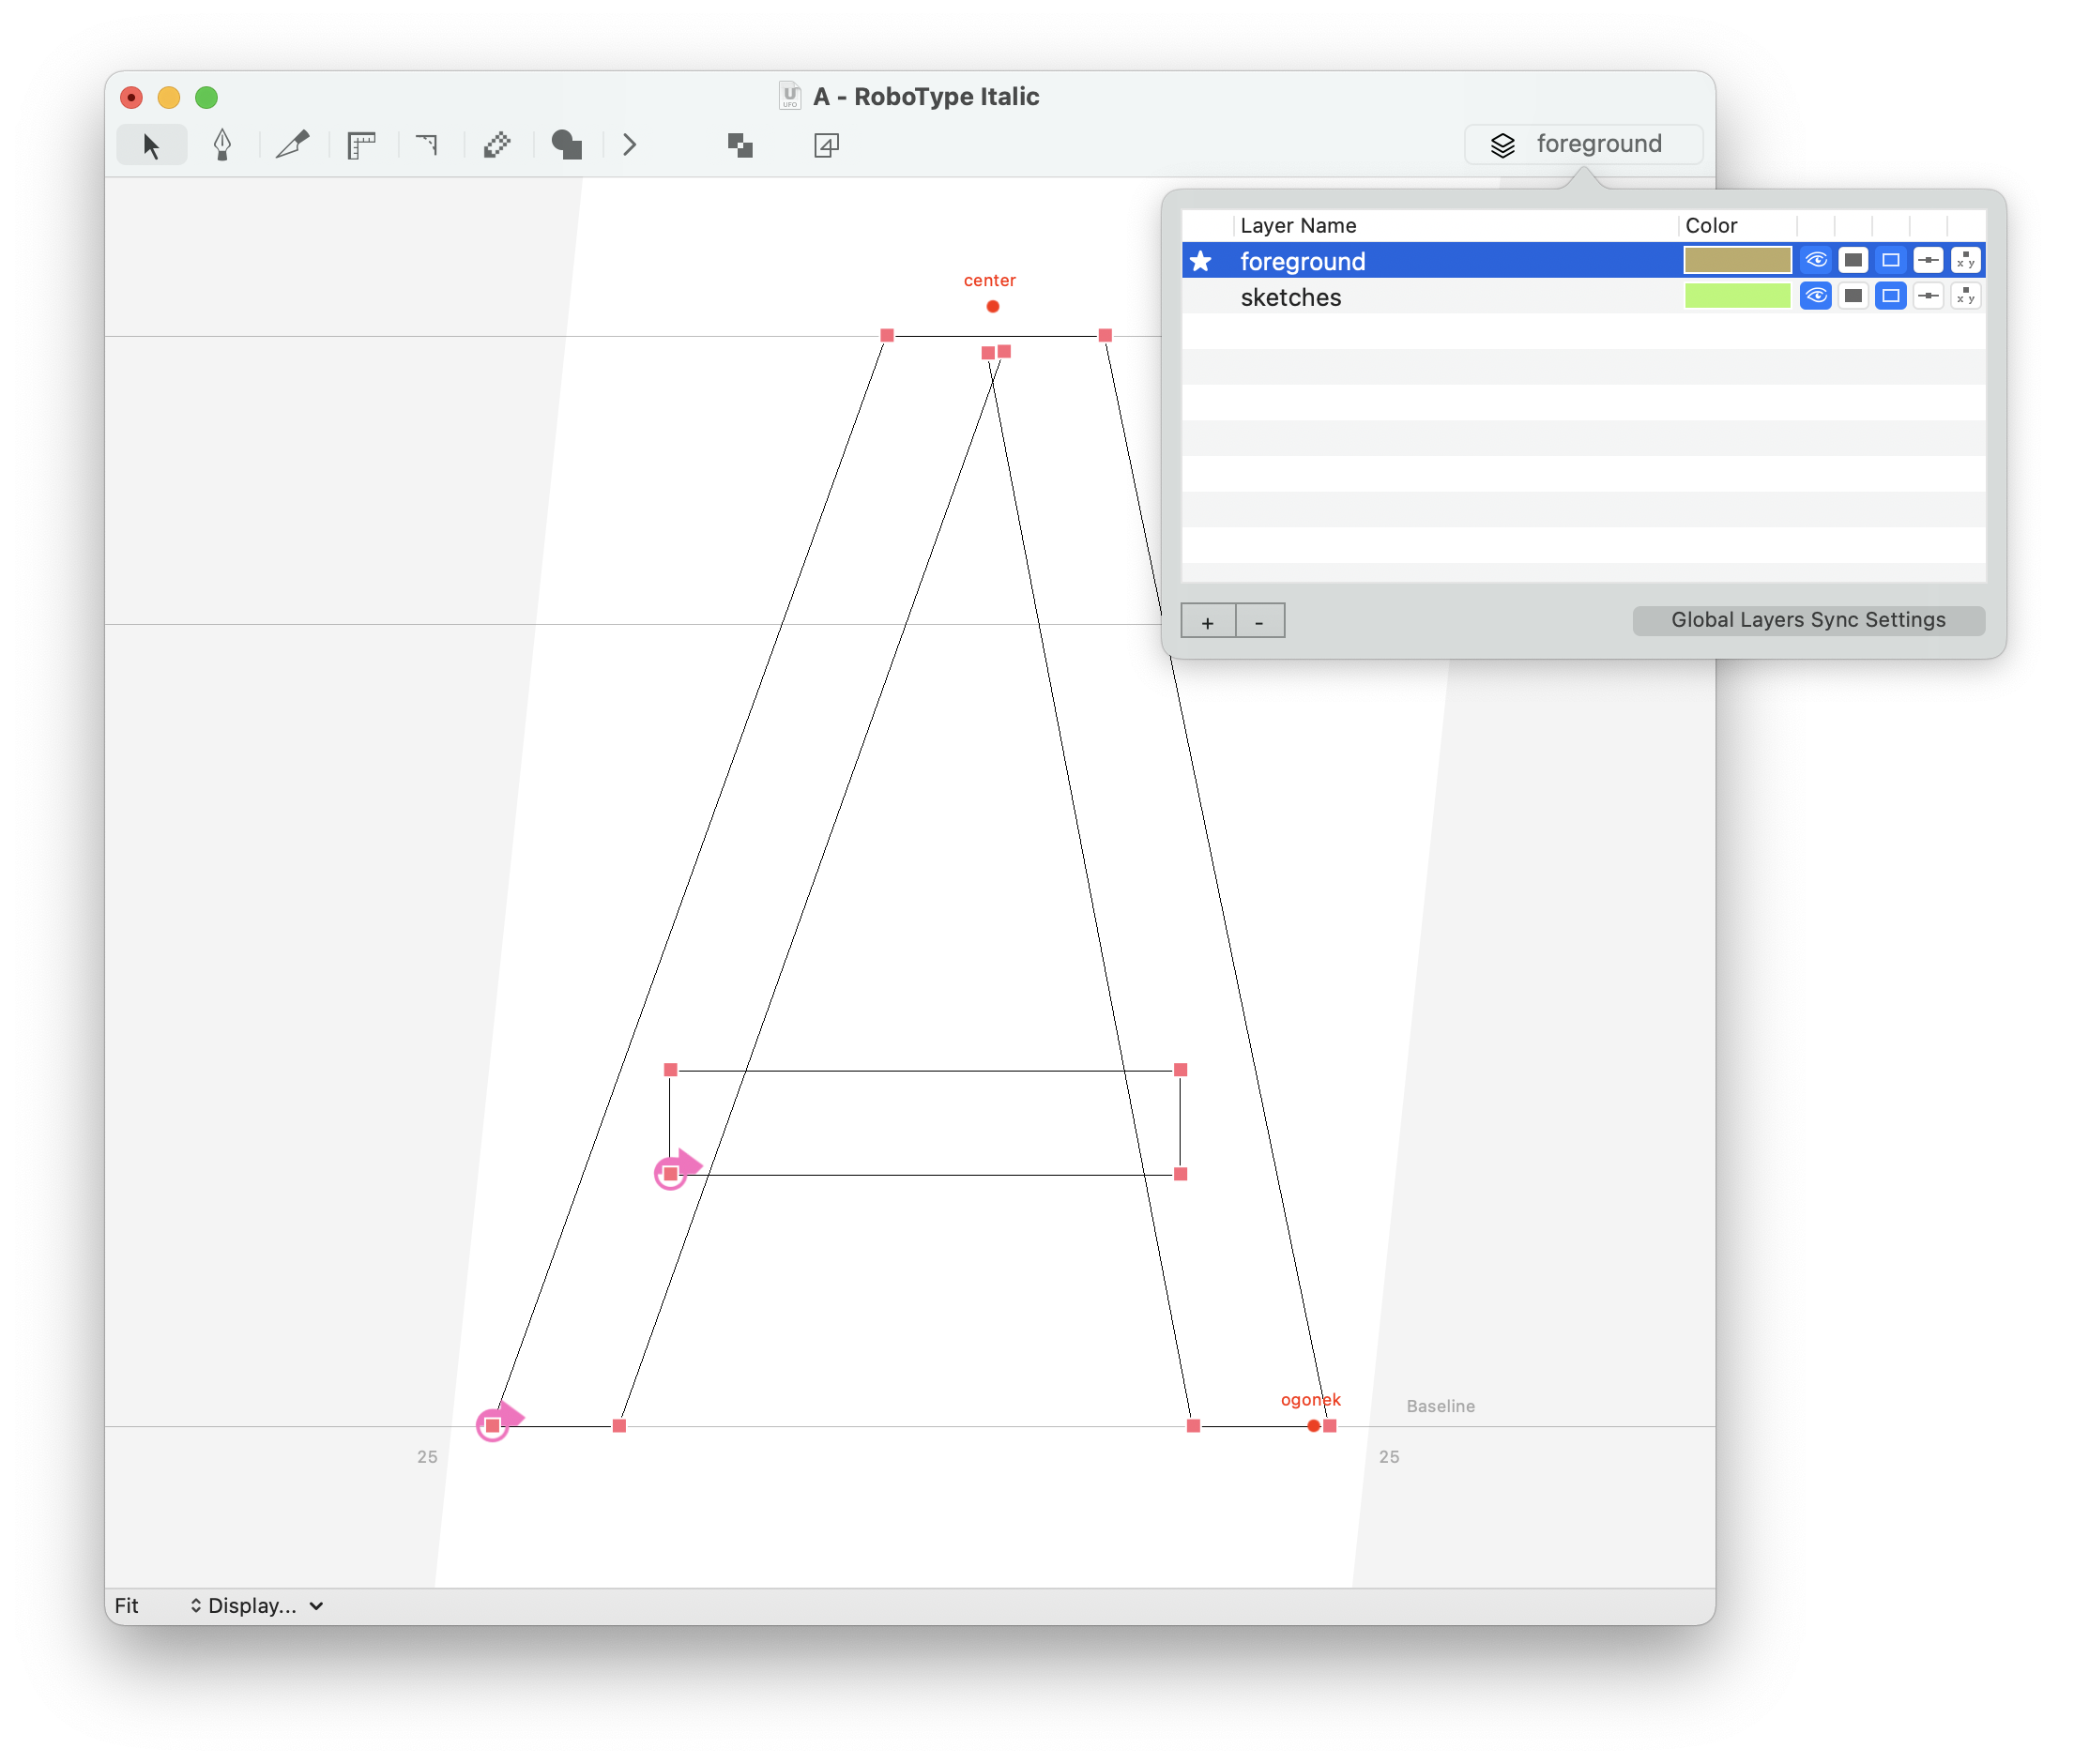
Cmd Alt ↓/Cmd Alt ↑to switch to the previous / next layer in the current glyph. You can also double click on a outline sitting on a different layer to switch to that layer. - Layers popup
- Press
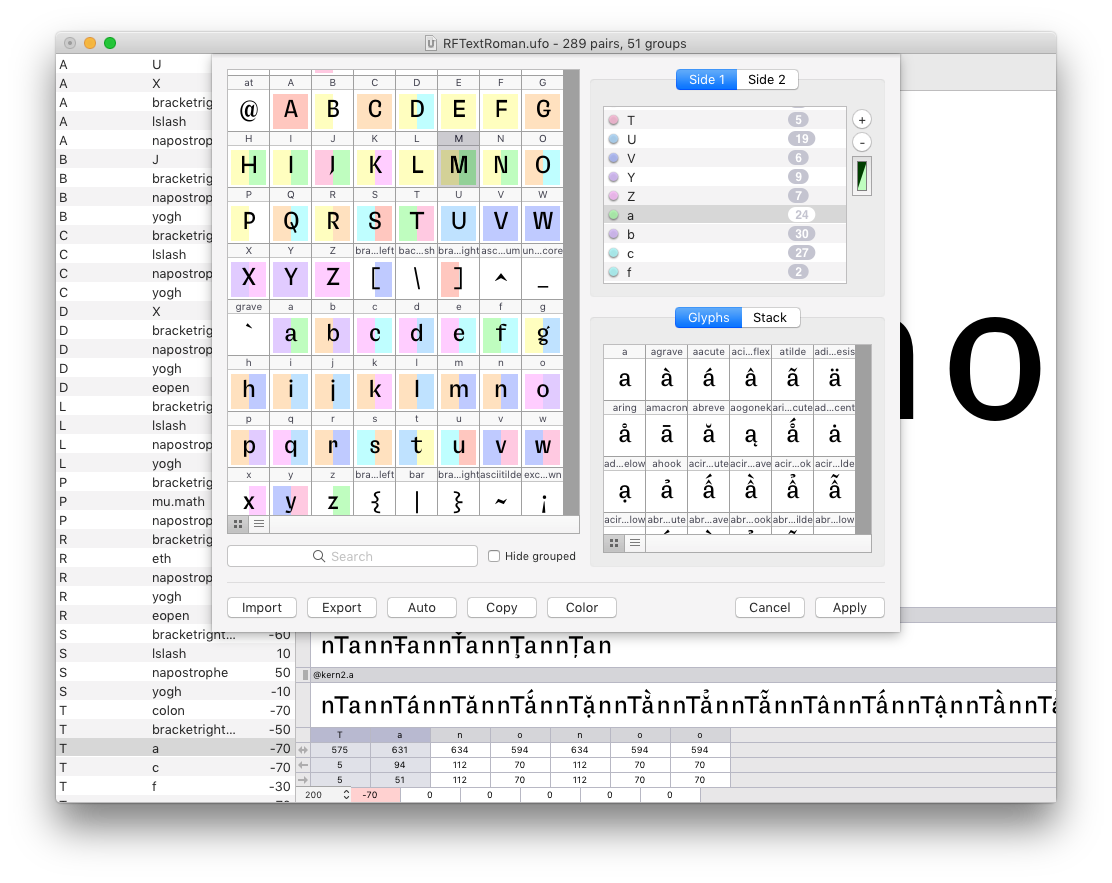
Lto open the Layers popup window, which can be used to switch to another layer, move the current glyph to another layer, or to flip the contents of the current layer with another layer.
Display options
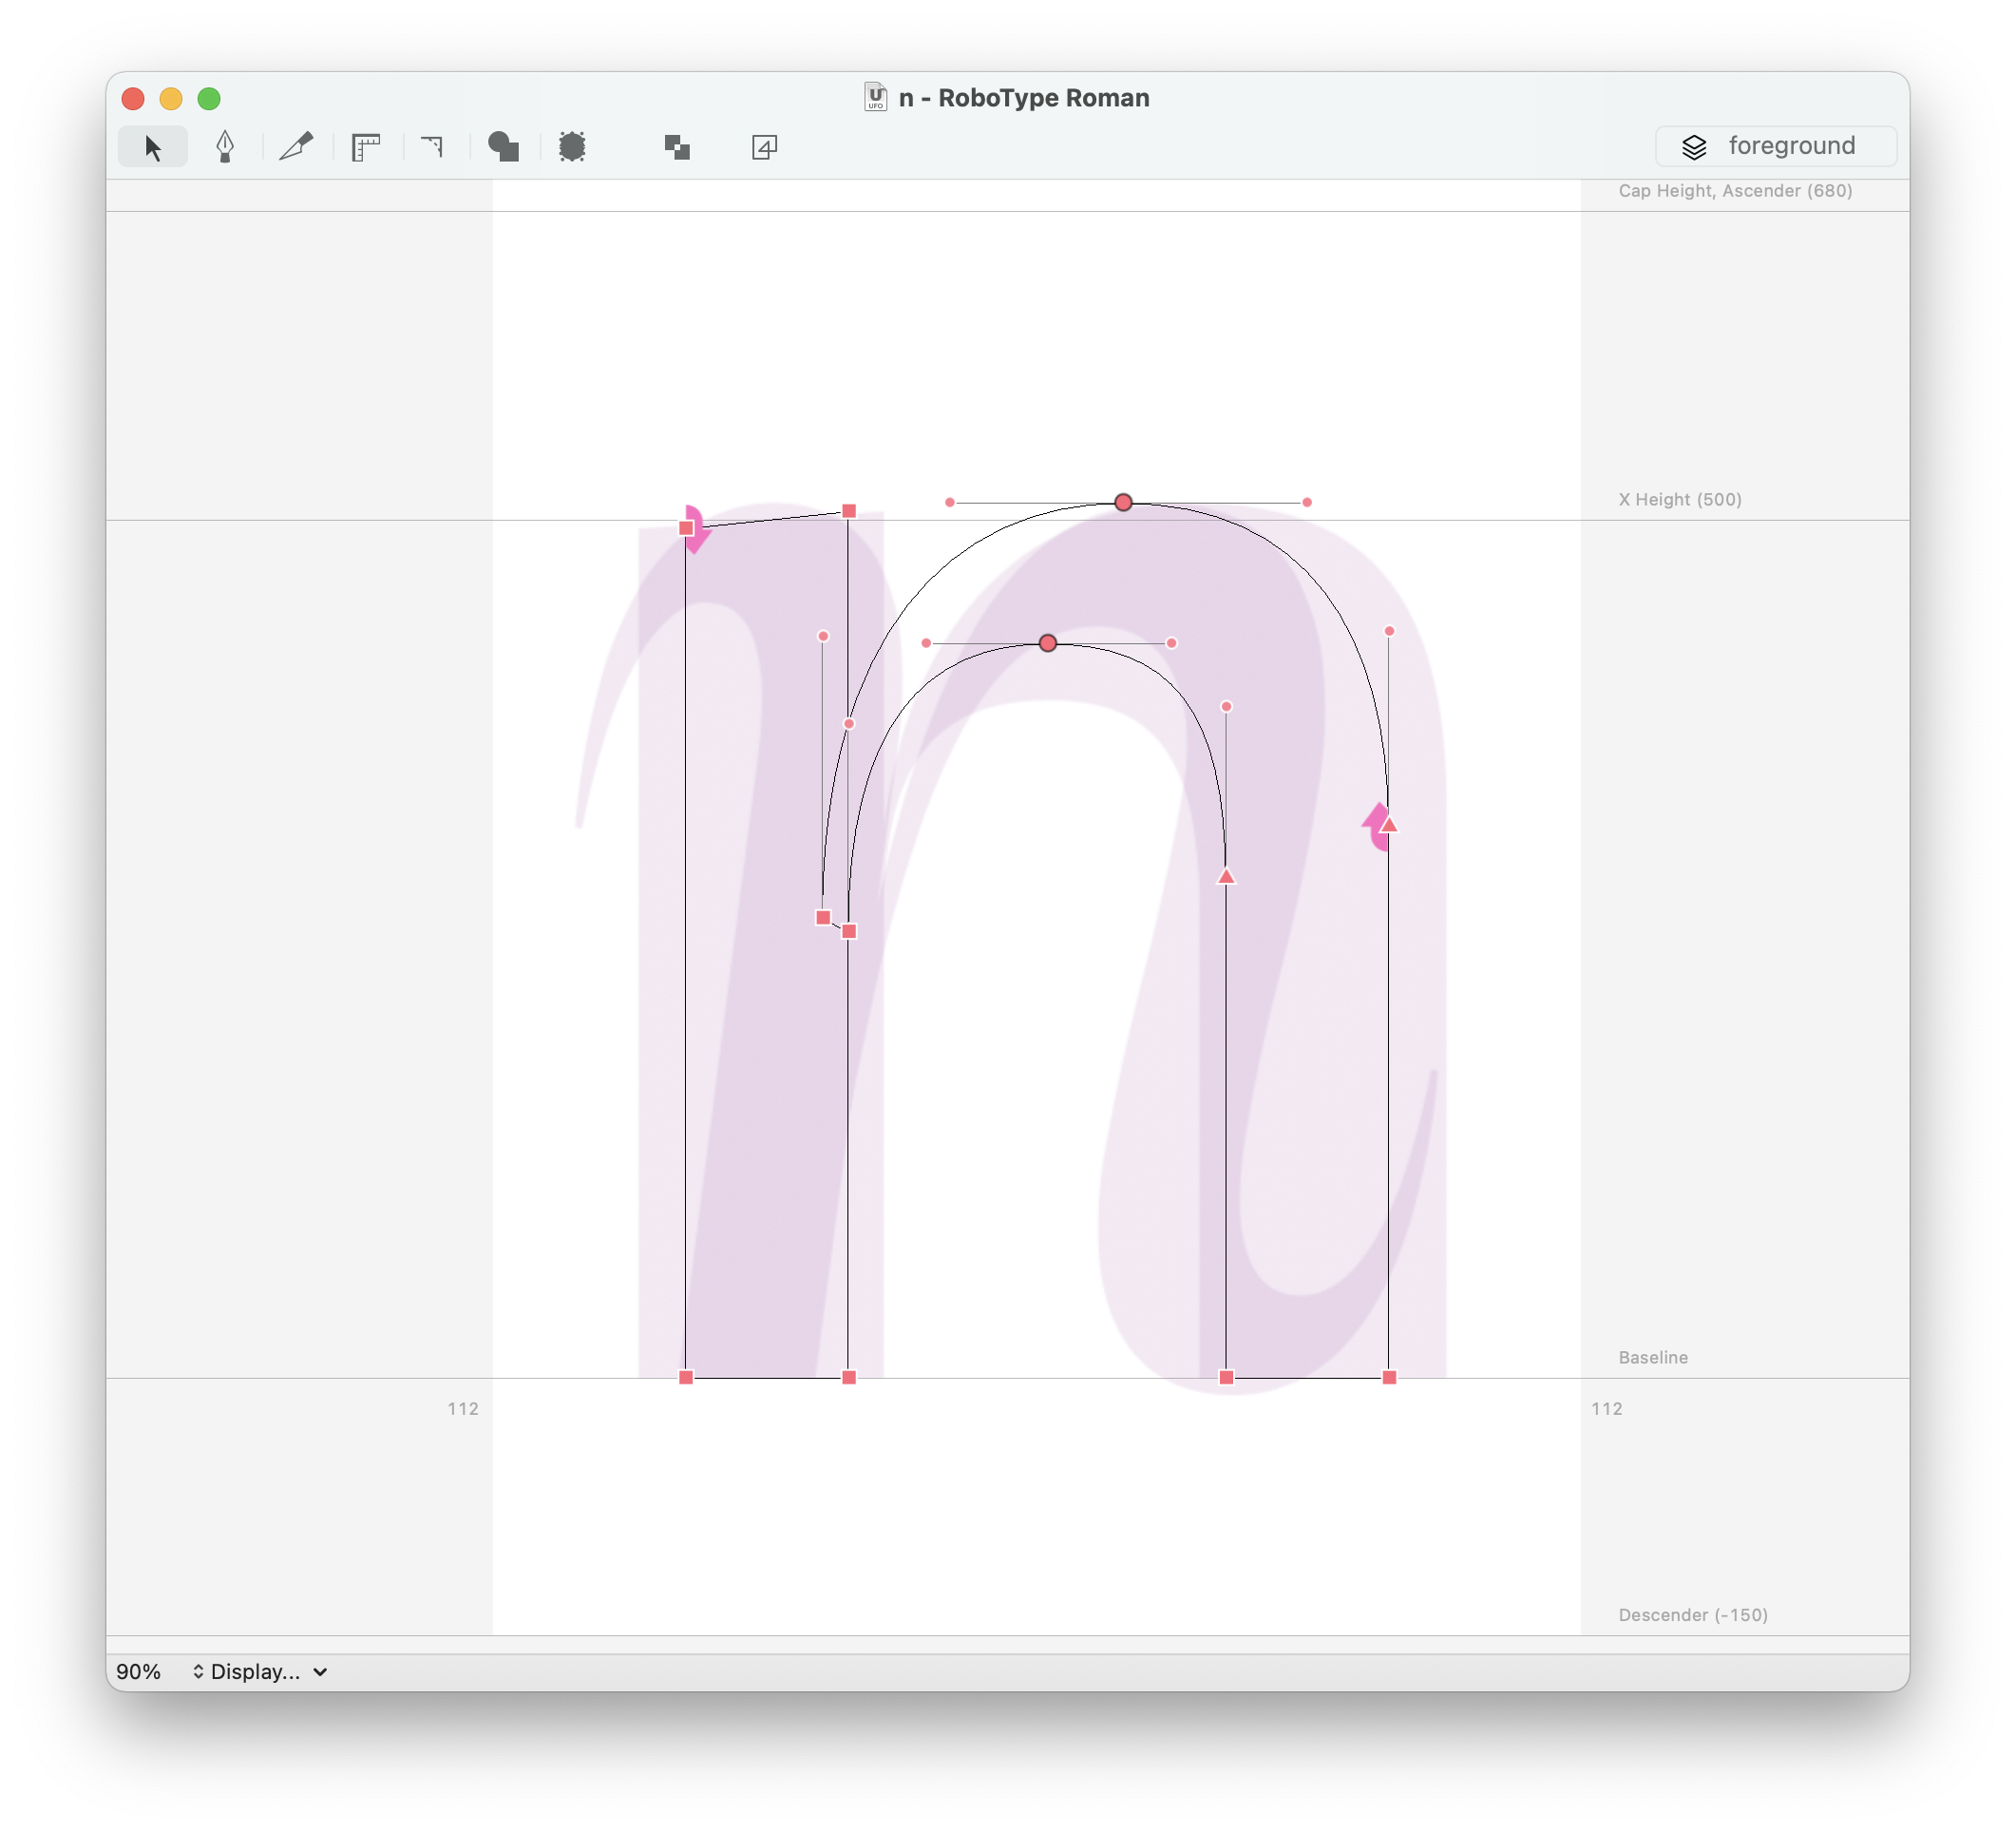
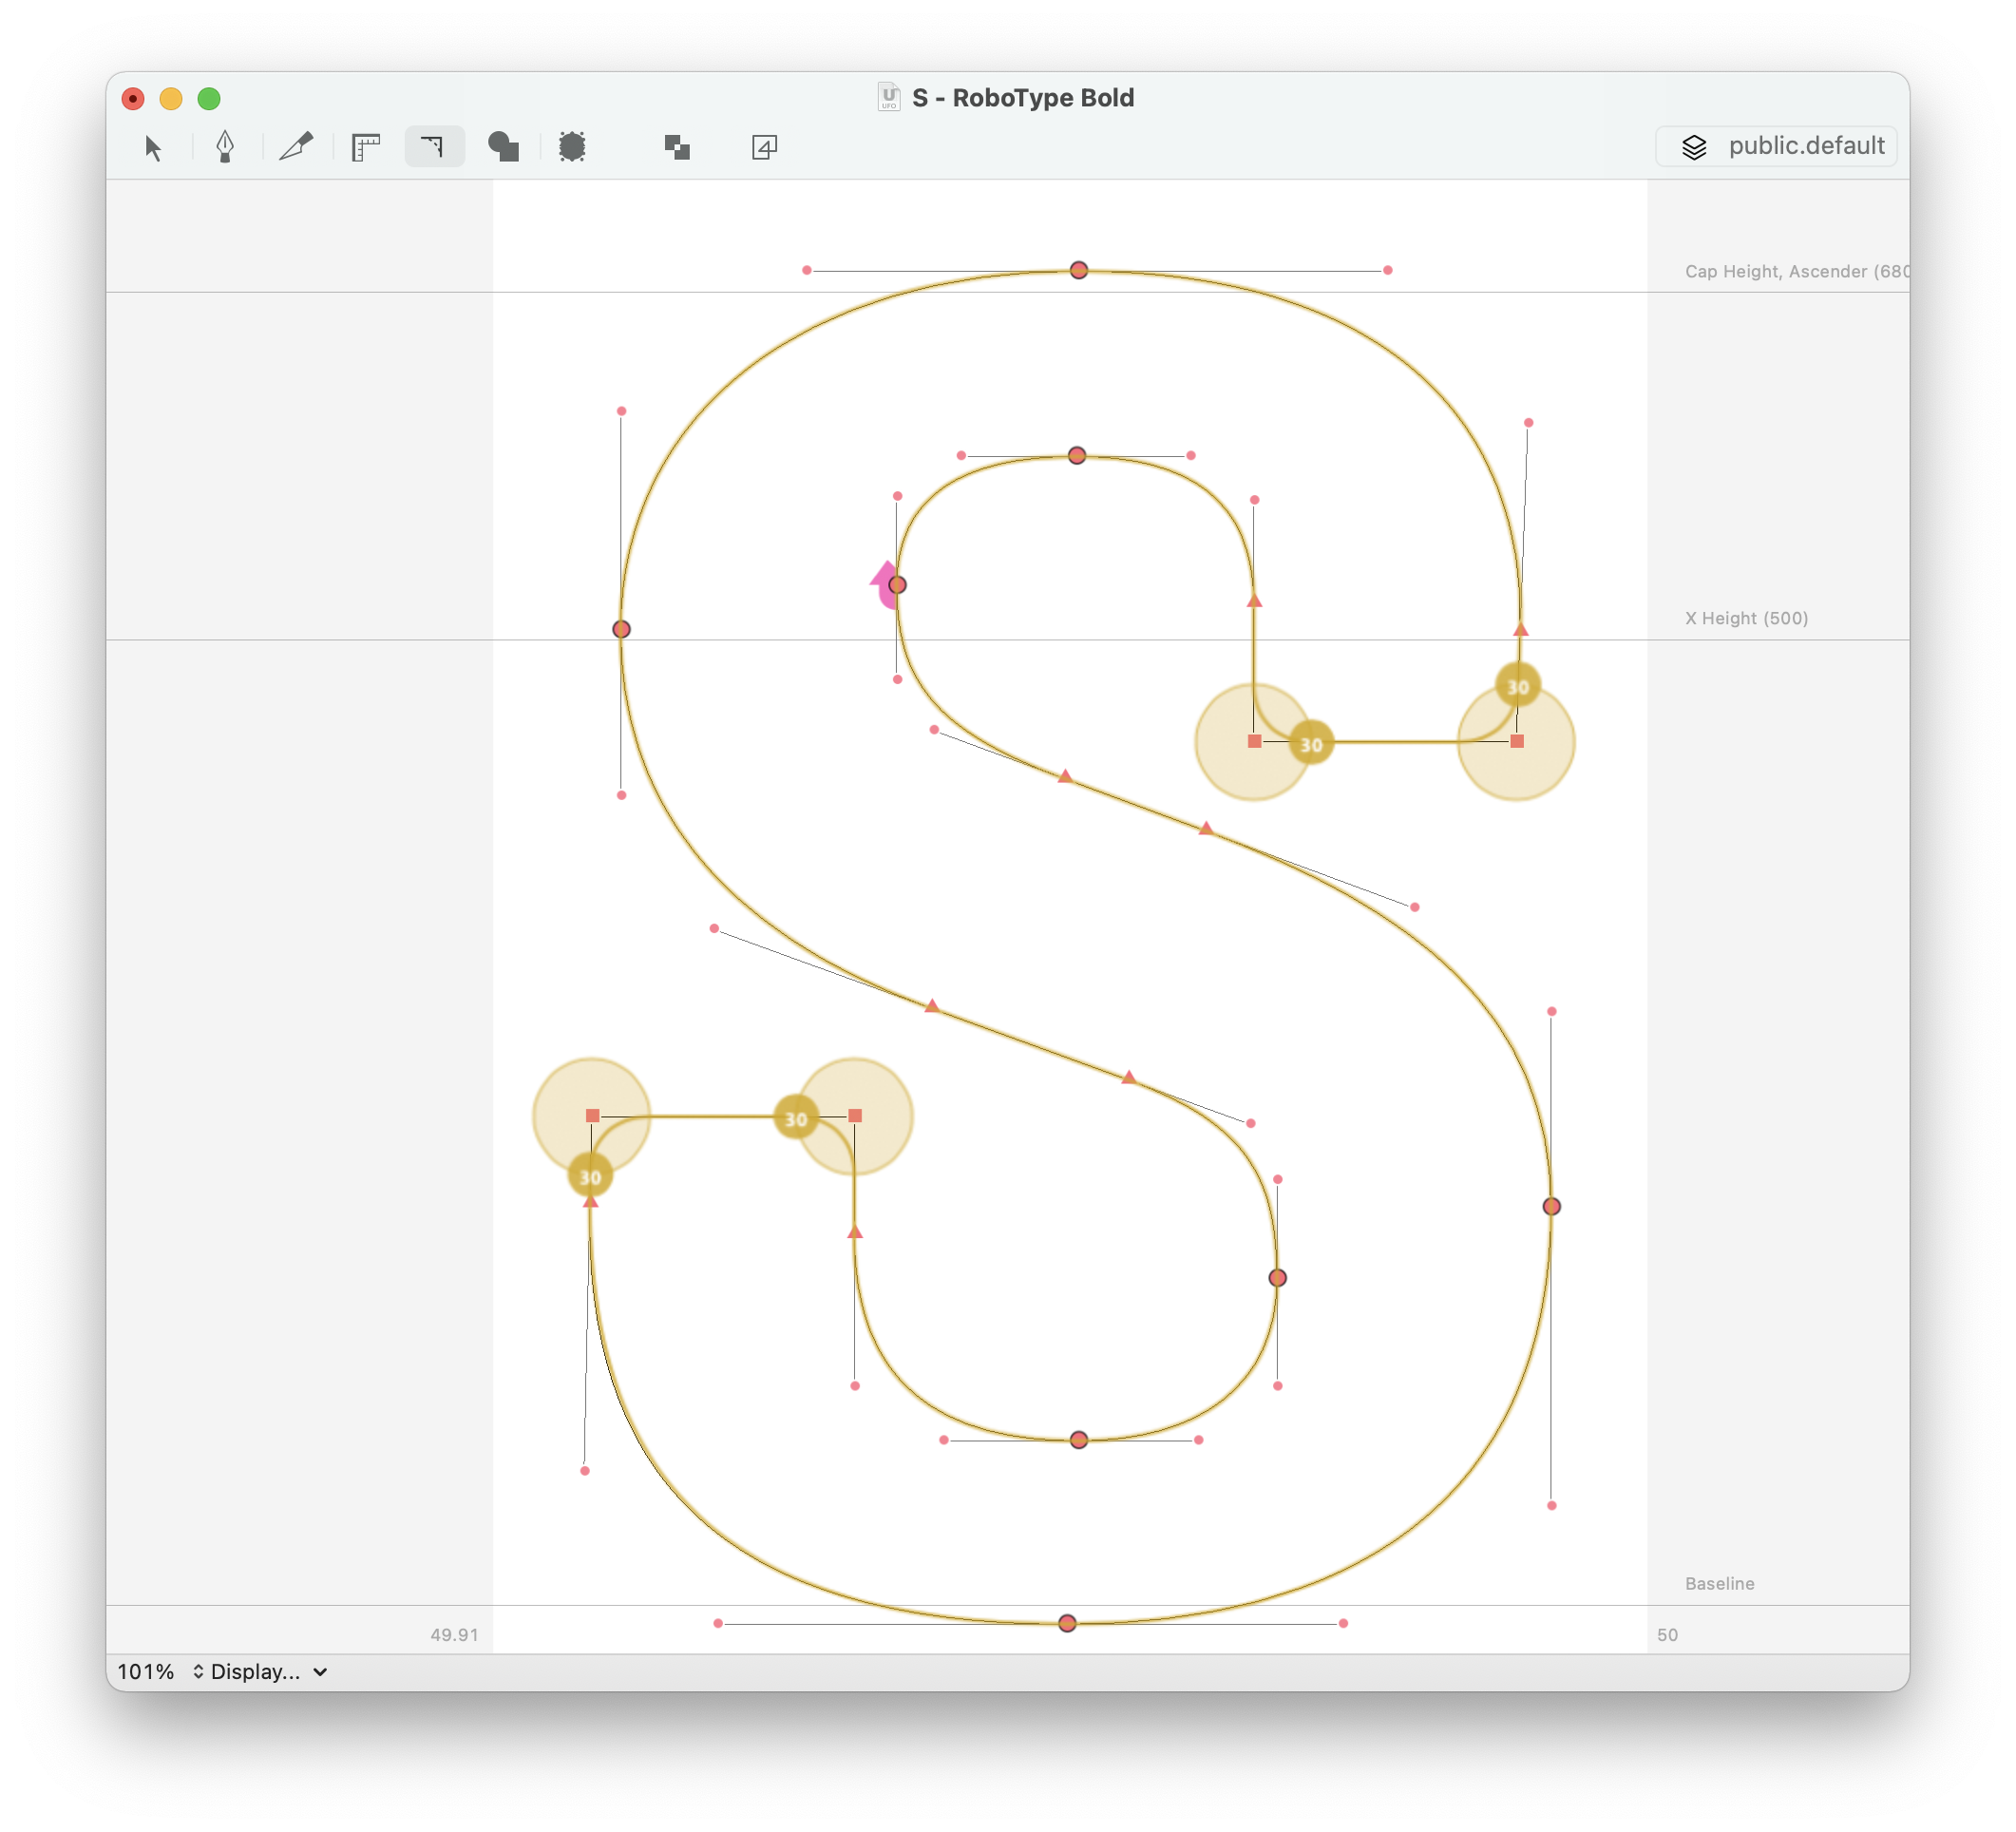
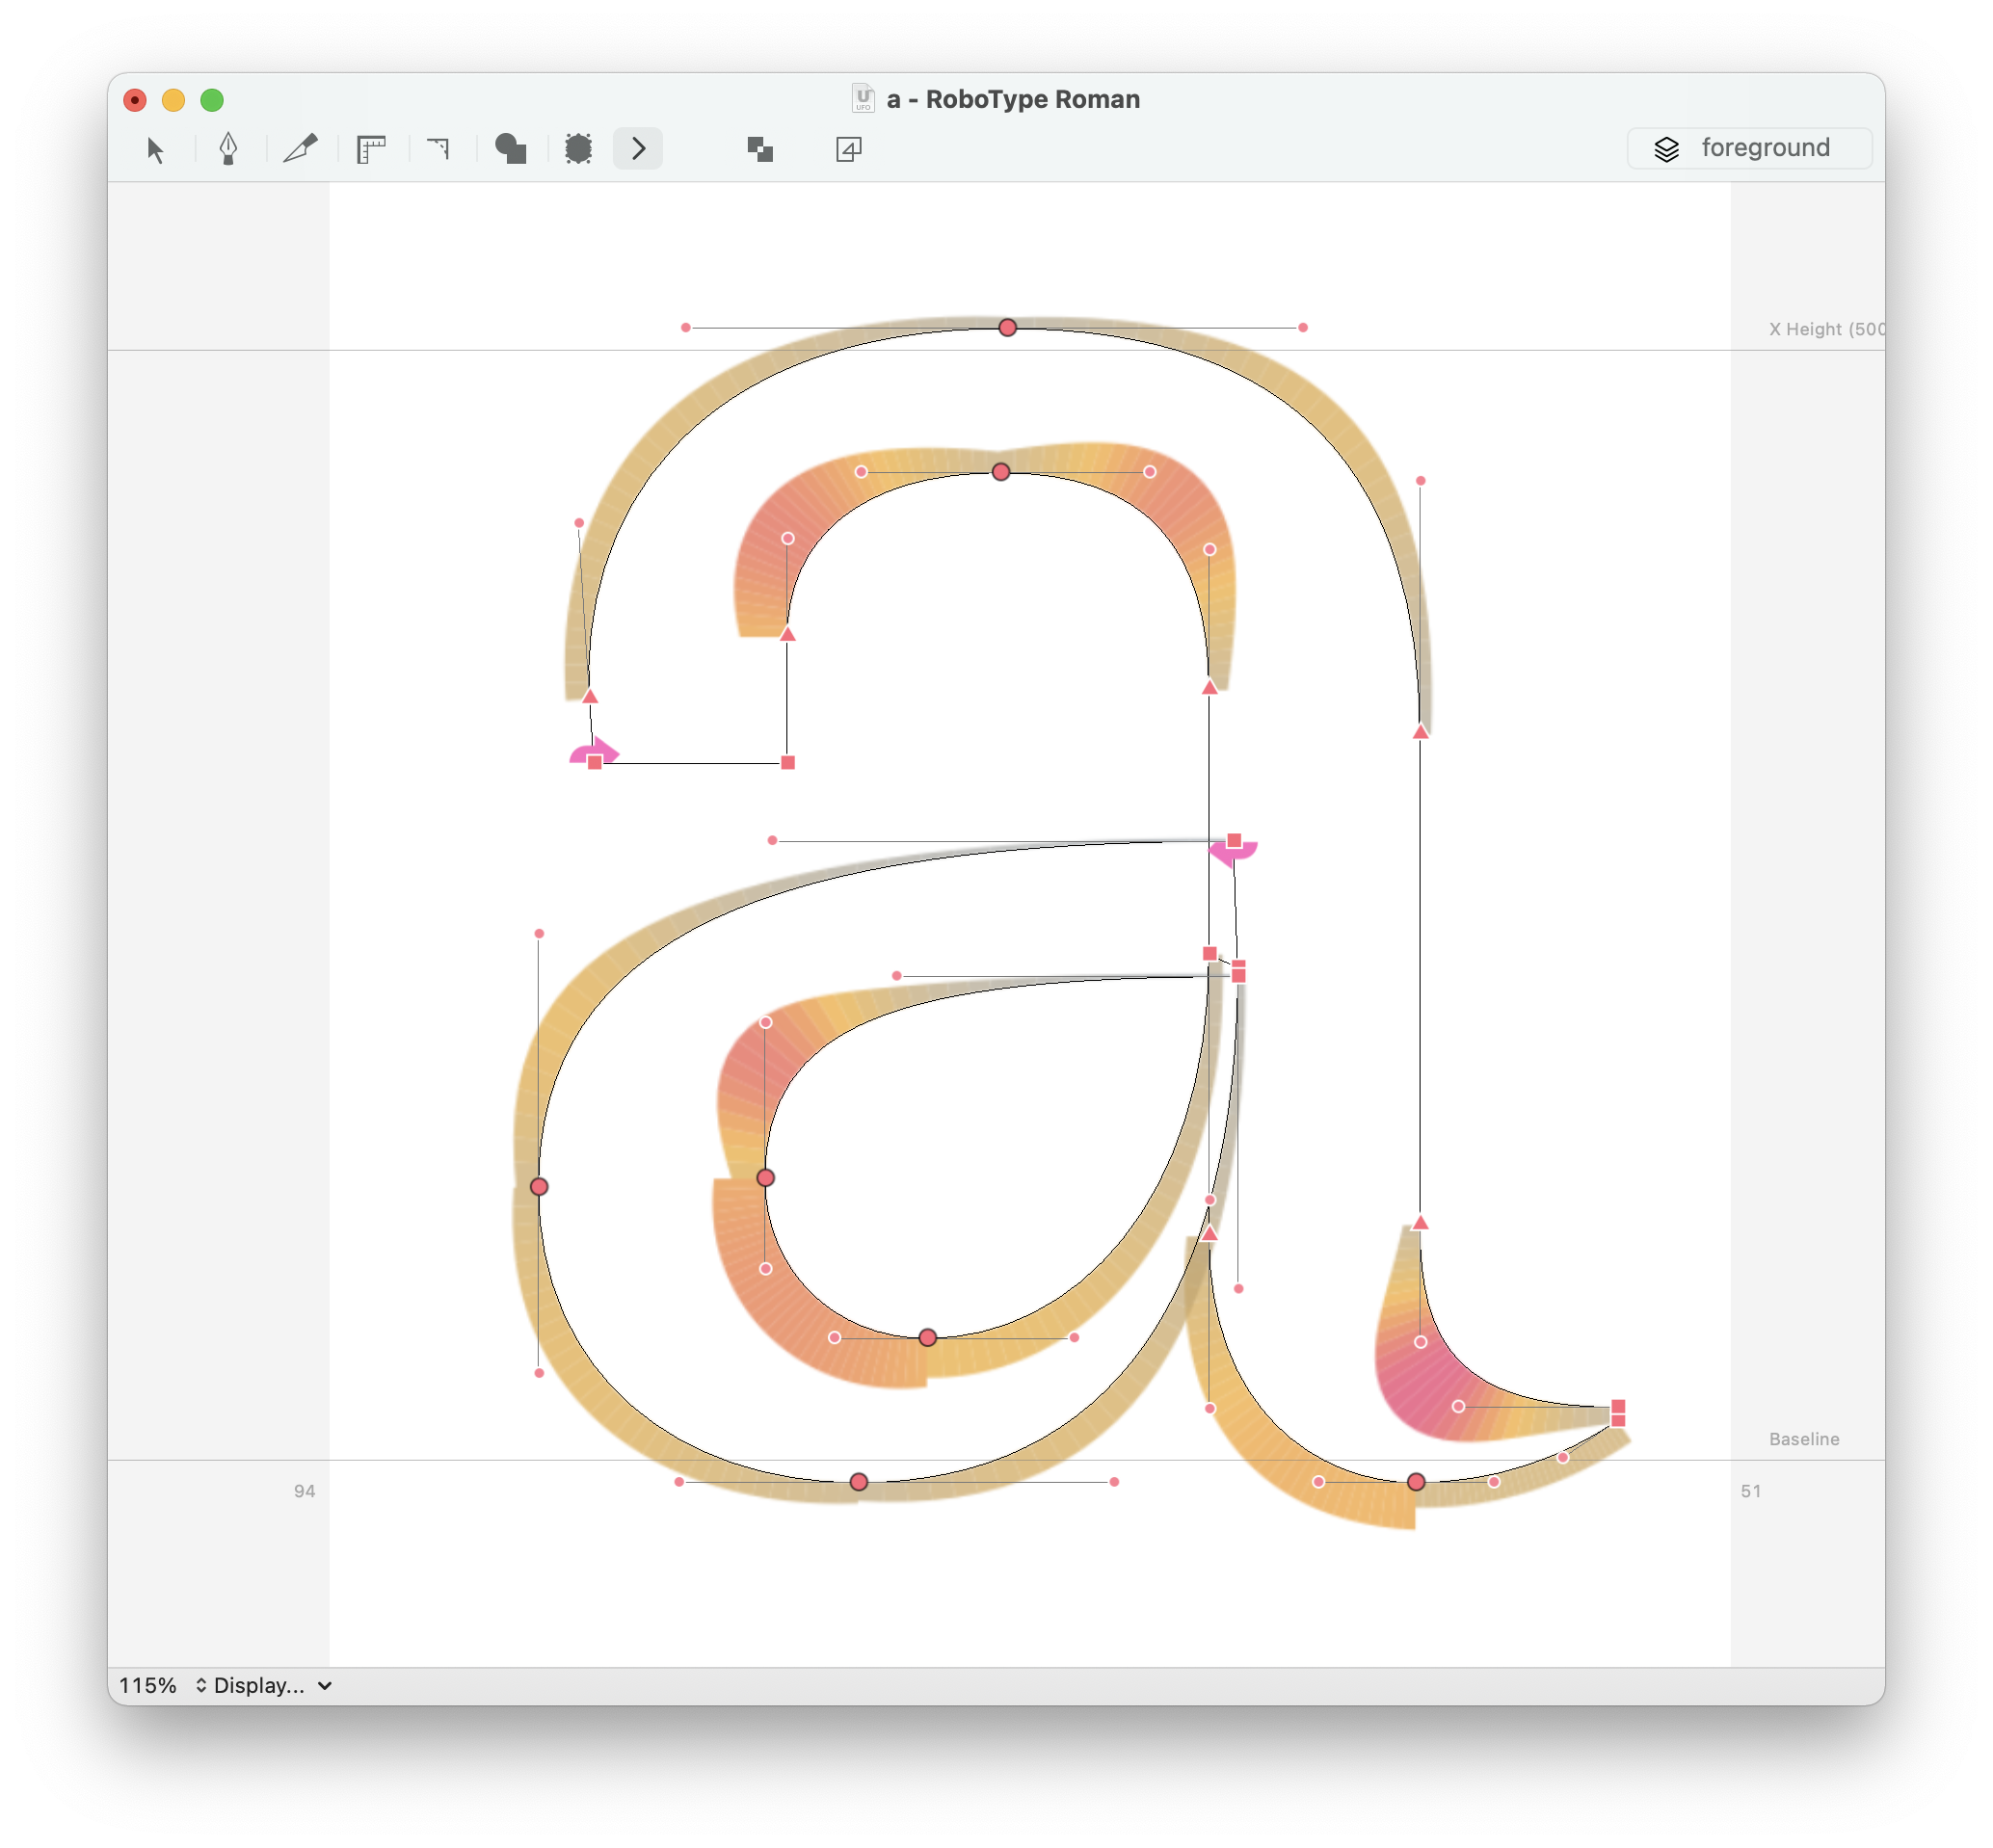
The Glyph Editor offers unlimited options to fine-tune its appearance and visualization tools.
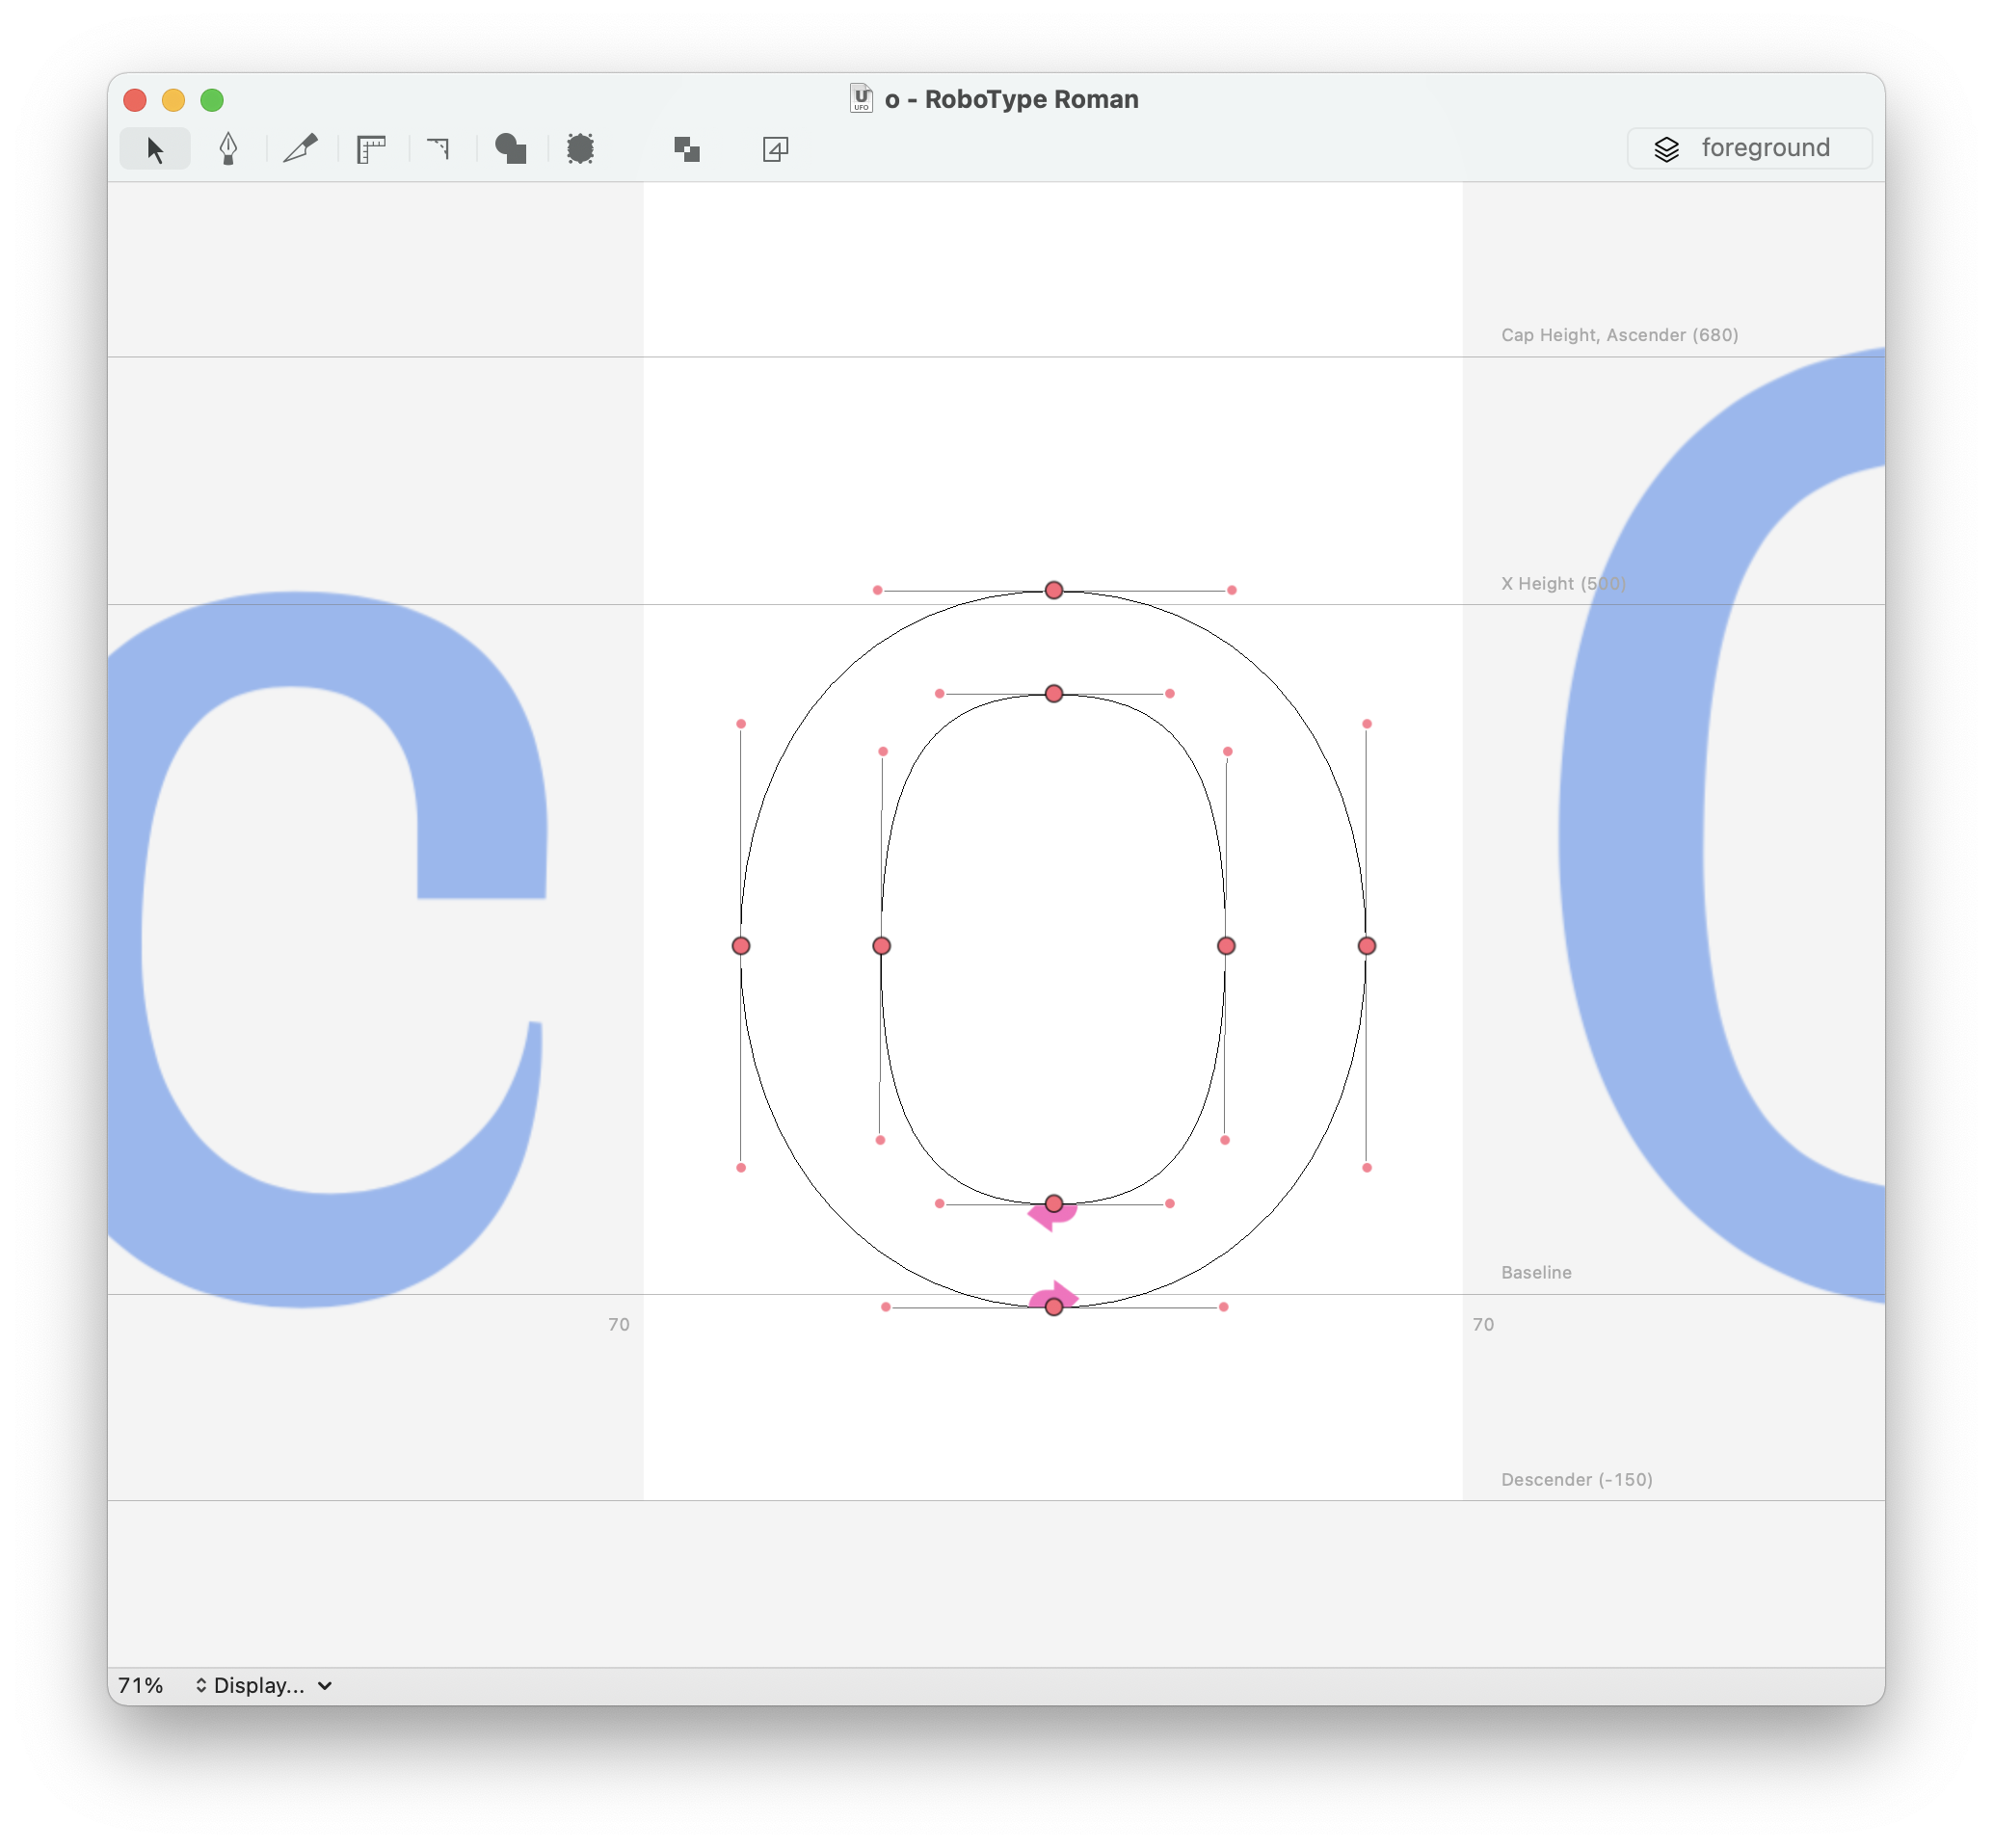
- Glyph preview
-
Use the
backspacekey to toggle the preview mode on/off while designing a glyph, so you can quickly visualize and evaluate the glyph shape. - Display options menu
-
Use the menu at the bottom left to customize the way glyph data is displayed, turning different kinds of data on/off as needed.
- Layer display options
-
Use the Glyph Editor Layers popover to adjust the display options for each layer
| icon | layer attributes |
|---|---|
 |
visibility |
 |
fill |
 |
stroke |
 |
points |
 |
point coordinates |
- Customize colors
-
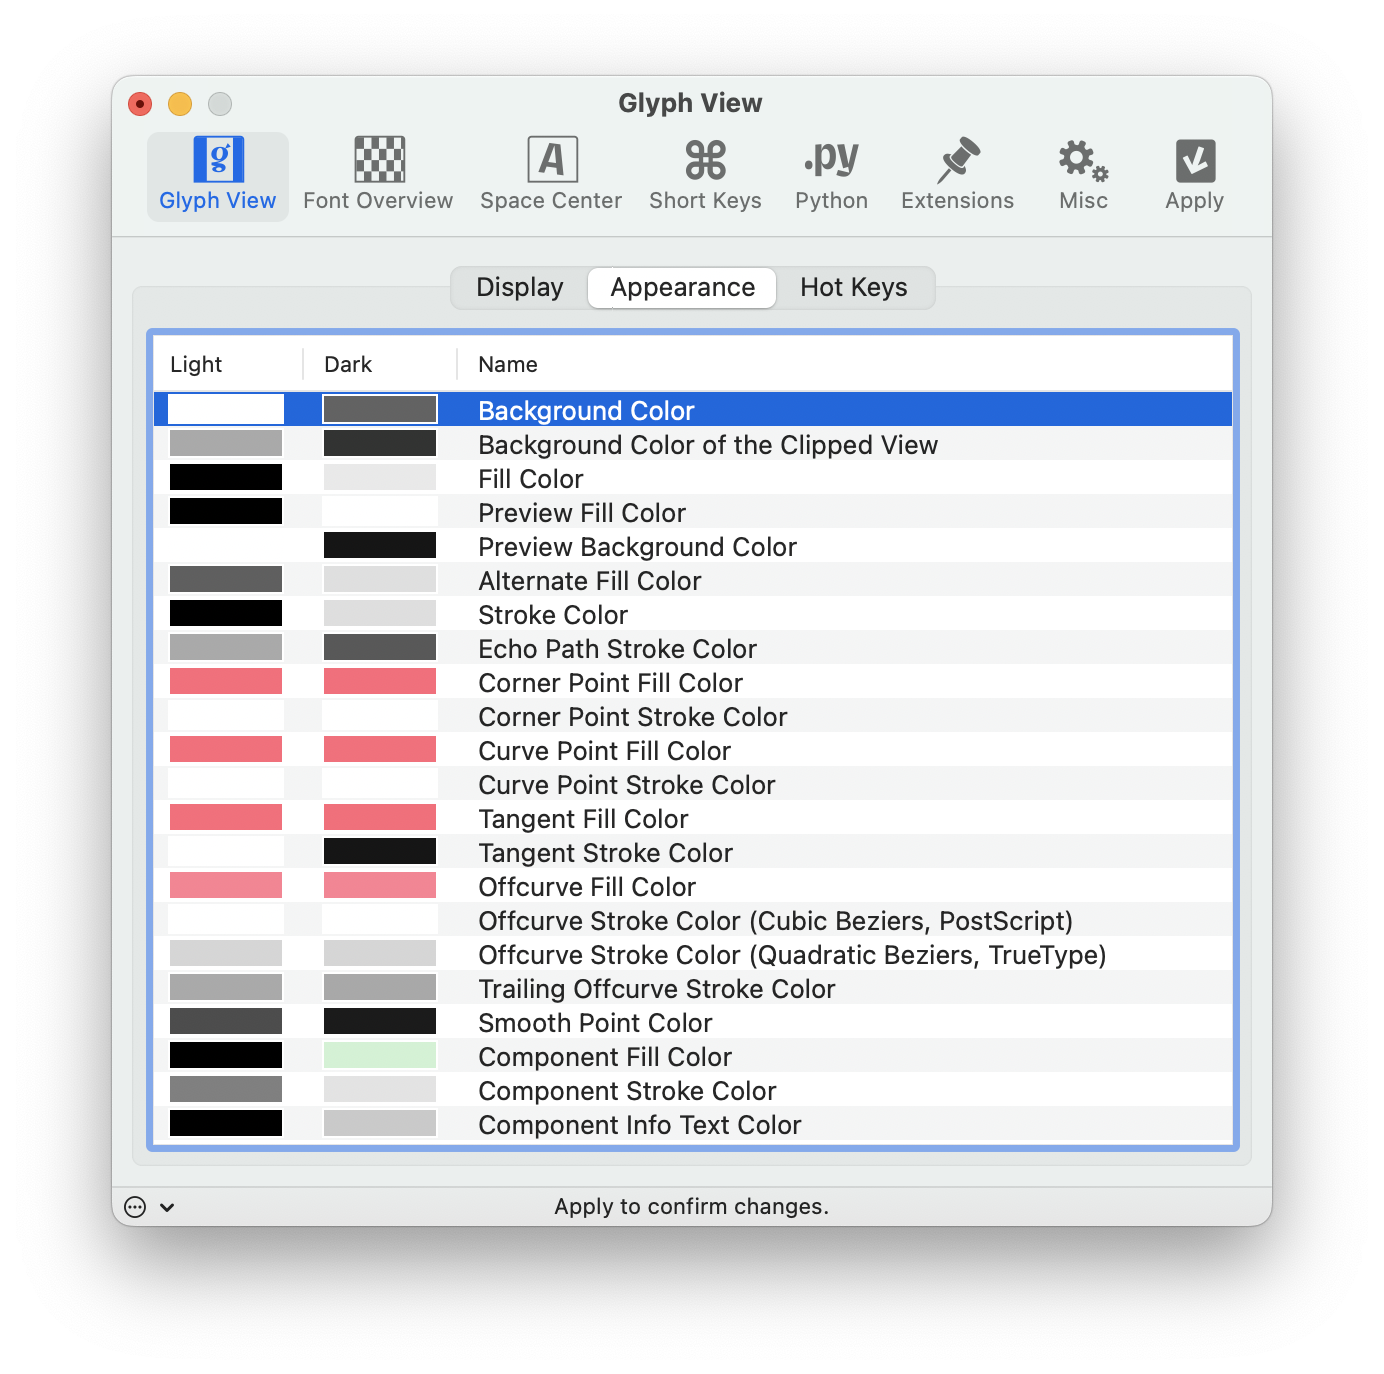
The glyph view’s display colors can be configured in the Glyph View Preferences. Use the ThemeManager extension to apply existing themes and create your own.
- More display features
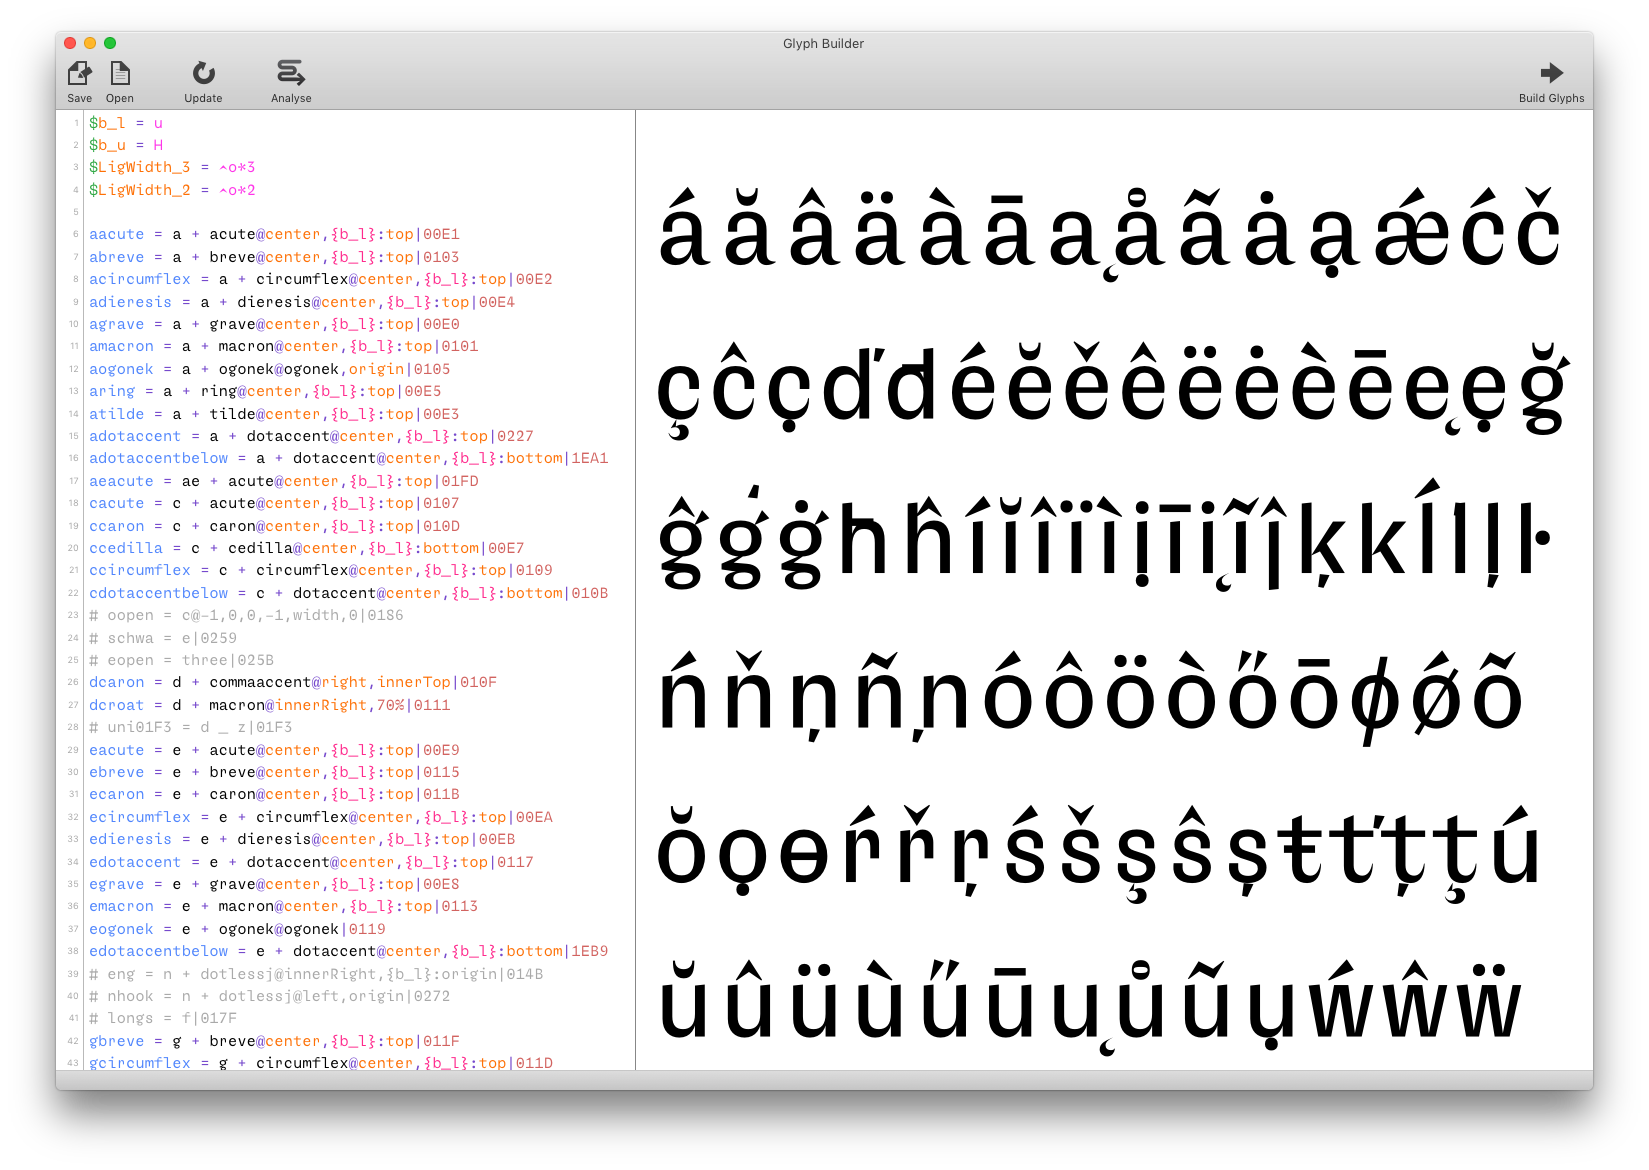

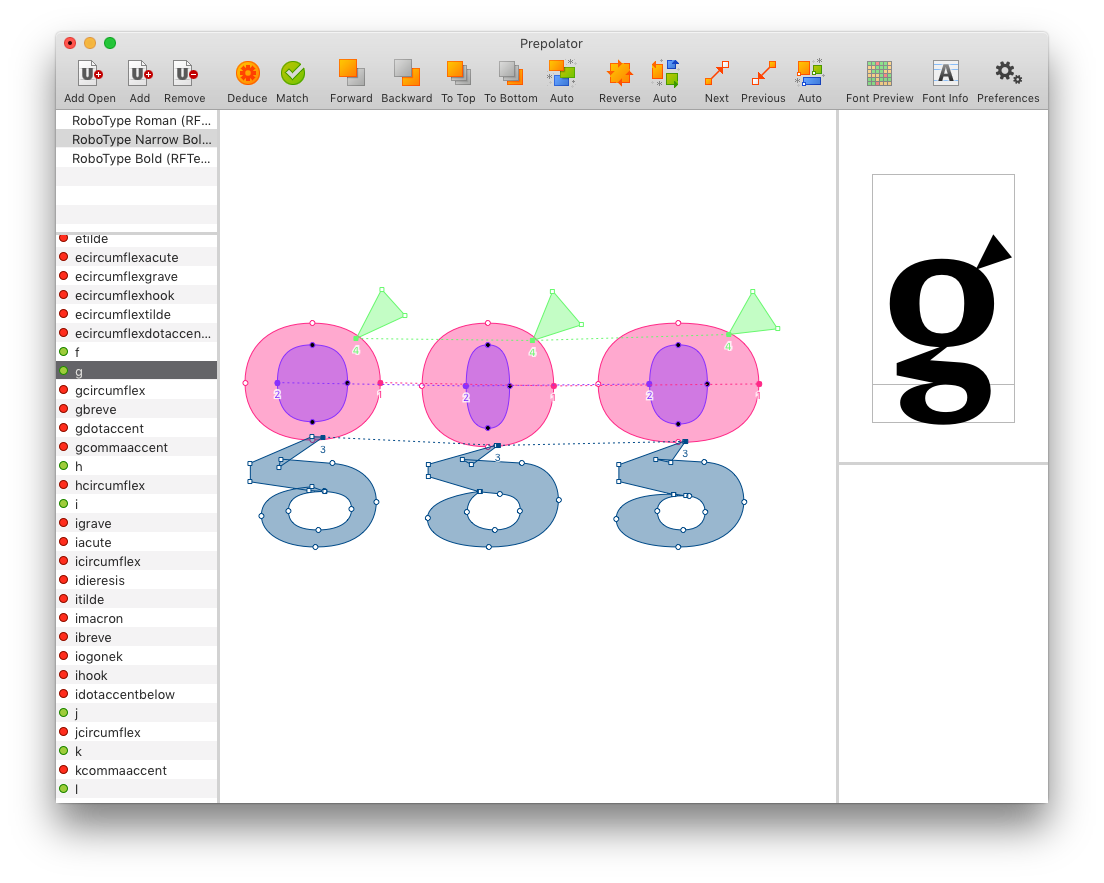

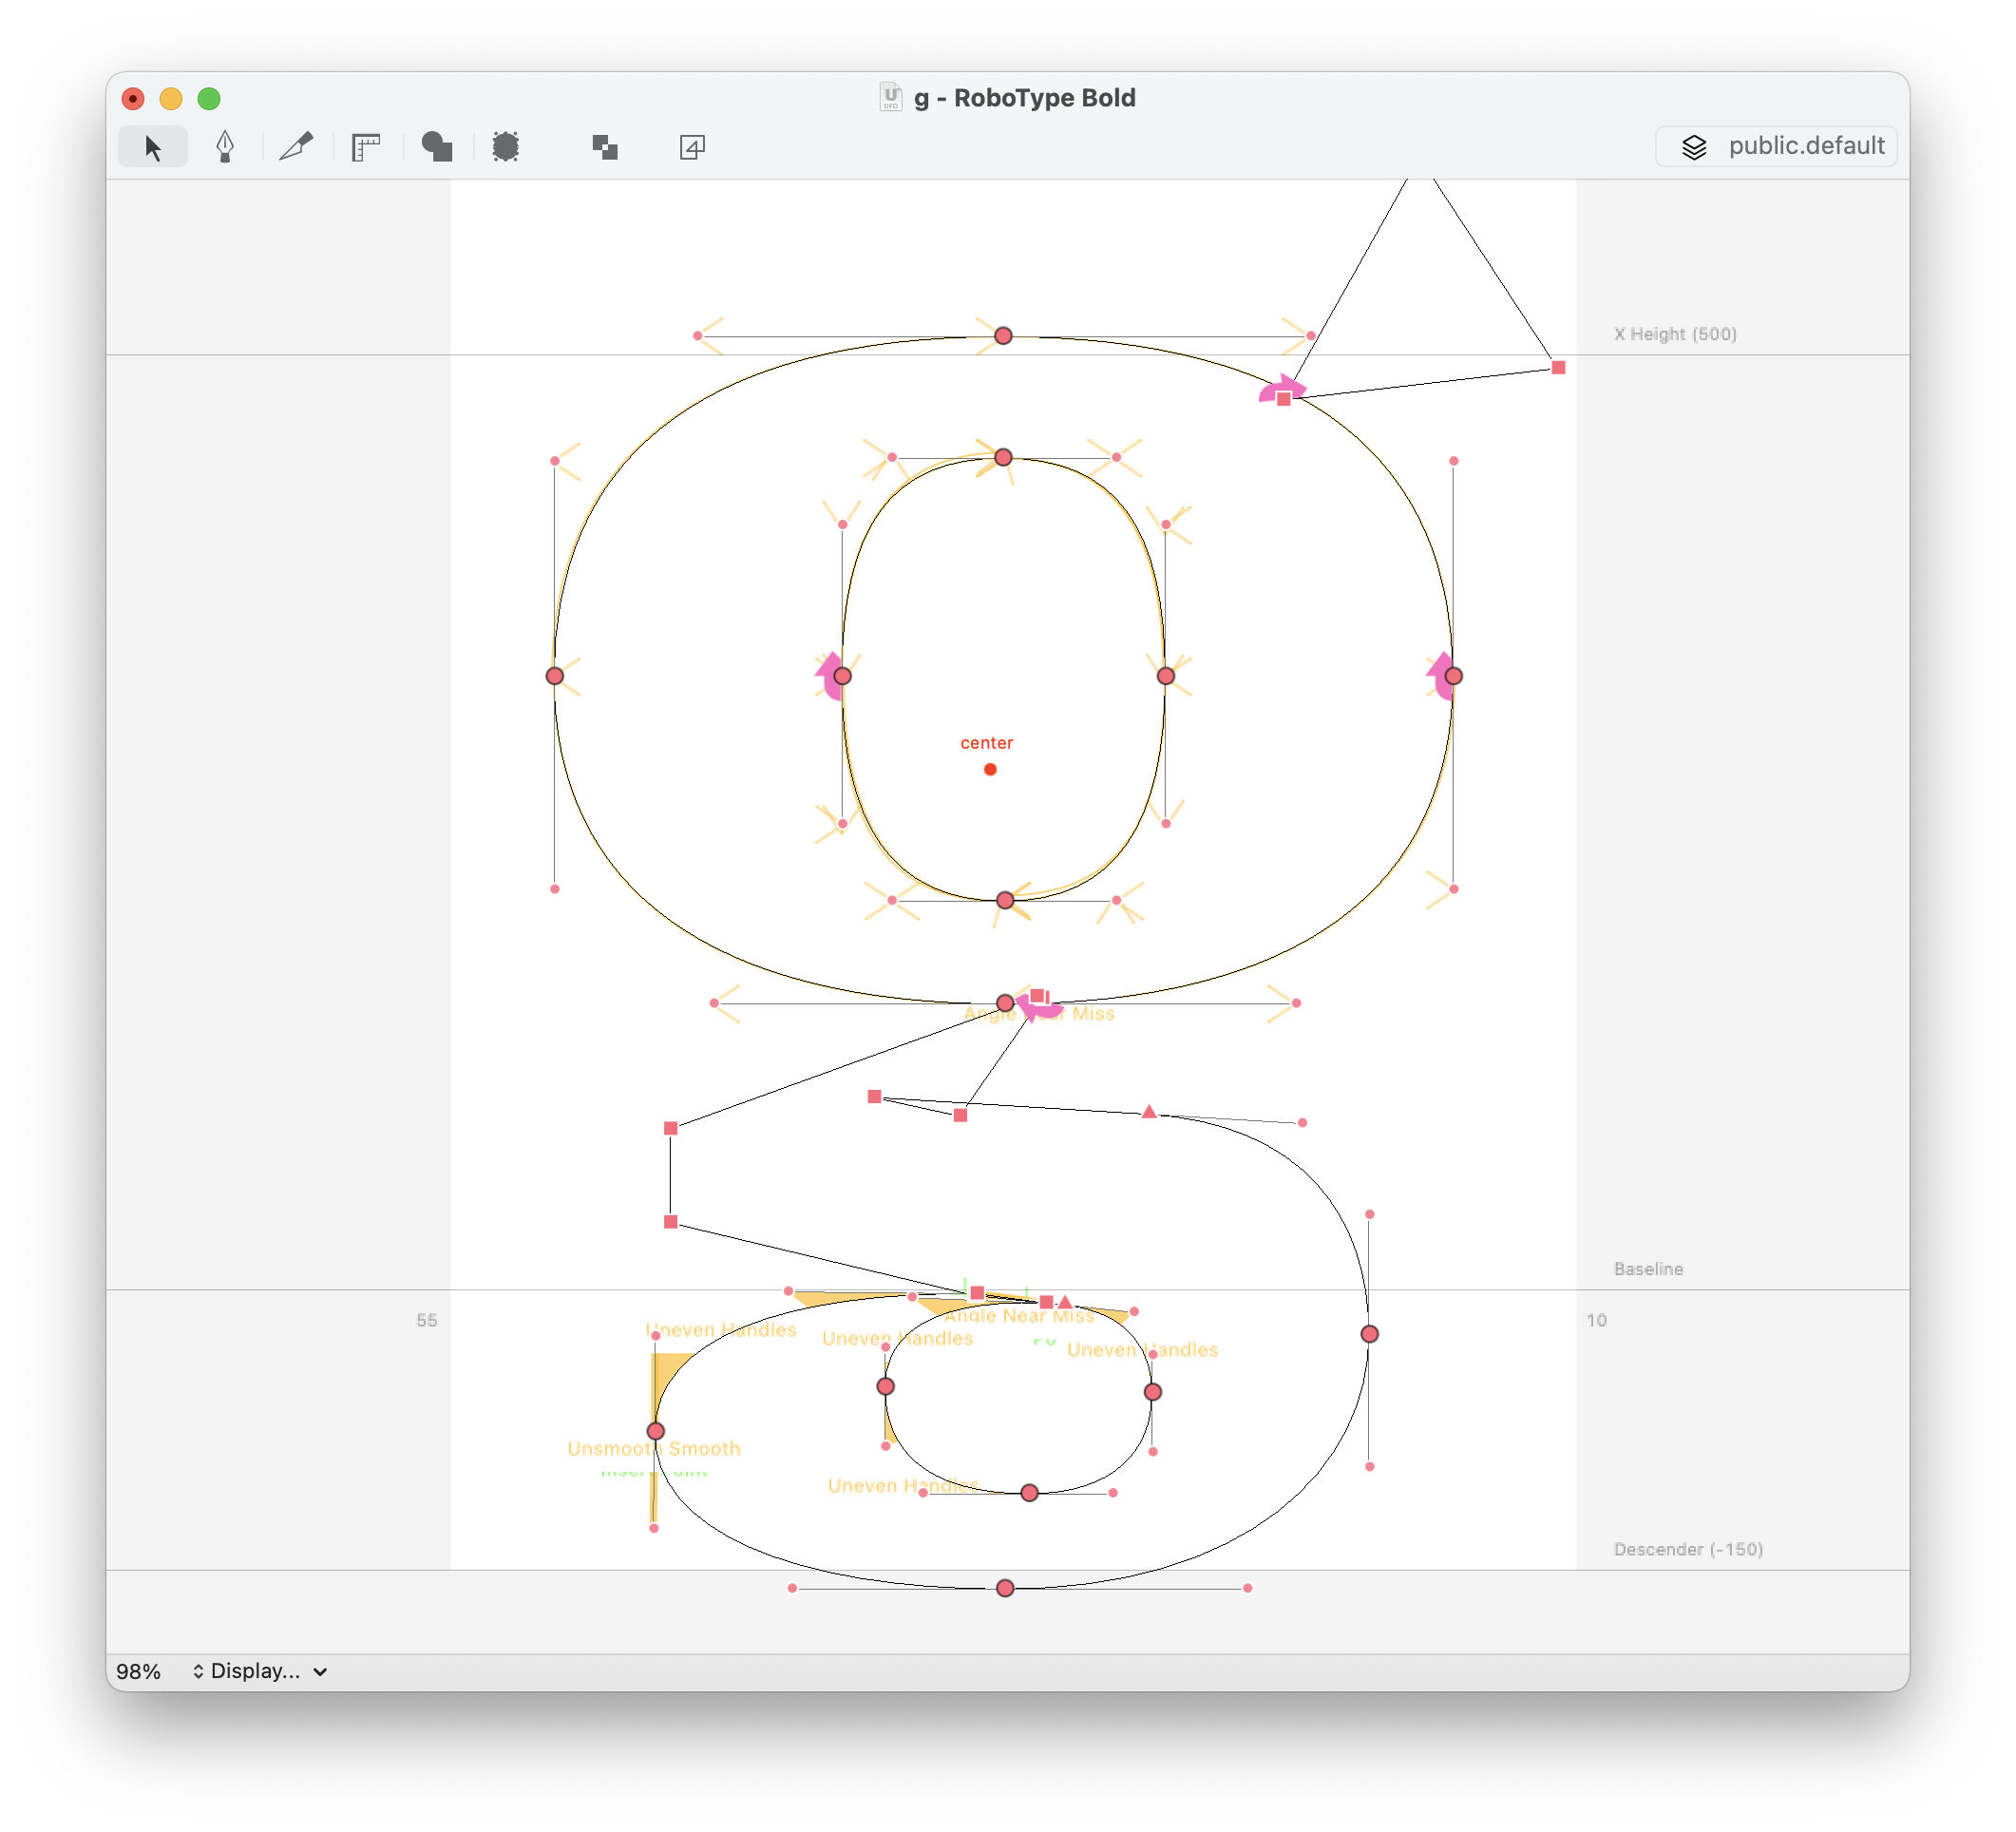
Use extensions to add special visualization features, for example:
- show reference glyphs with Ramsay St. and OverlayUFOs
- visualize curvature with Speed Punk
- preview accented glyphs with Anchor Overlay Tool
- view bezier curve construction with De Casteljau and Check Parallel Tool
…and much more!