Merz ↩
Merz is a lightweight wrapper around Apple’s CoreAnimation framework with a Pythonic API that allows for ergonomic, declarative and performant object drawing within RoboFont.
Written and contributed by Tal Leming. You can find the detailed documentation here.
A new way of visualizing data on your screens
Merz is one of the major new features in RoboFont 4.0. Most users will not notice much difference from RoboFont 3.0, but it represents a radical change in how the application visualizes data on the screen. Rendering speed will enormously benefit from this shift.
RoboFont’s extension ecosystem plays an important role in the overall user experience, so the RoboFont team will try to make it as easy as possible for tool developers the switch from mojo.drawingTools to Merz.
Merz represents a substantial conceptual shift from mojo.drawingTools – and Drawbot. The mojo.drawingTools modules follow a strict procedural painter’s model: each drawing operation applies a layer of paint to an output canvas. The paint already applied cannot be modified, only new layers of paint can obscure or change the appearance of the previous layers.
Differently, Merz adopts an object-oriented approach. It isn’t even correct to define Merz – and the Core Animation framework on which Merz relies upon – a drawing system itself. Merz is an infrastructure for compositing and manipulating data organized in layer objects. Or, in other words, Merz allows for creating visual layers of data.
The previous approach
Let’s compare two scripts returning the same output on the screen. The first one uses a drawbot-style approach. You can run this code in the Drawbot extension in RoboFont.
myGlyph = CurrentGlyph()

newPage(myGlyph.width, myGlyph.font.info.unitsPerEm)

translate(0, -myGlyph.font.info.descender)
drawGlyph(myGlyph)

stroke(1, 0, 0)
line((0, 0), (myGlyph.width, 0))
Look at the sequence of actions: the script accesses the glyph, creates a canvas, adjusts the canvas reference point, draws the glyph, set a line stroke, draws the baseline. It mimics the painter’s gestures.
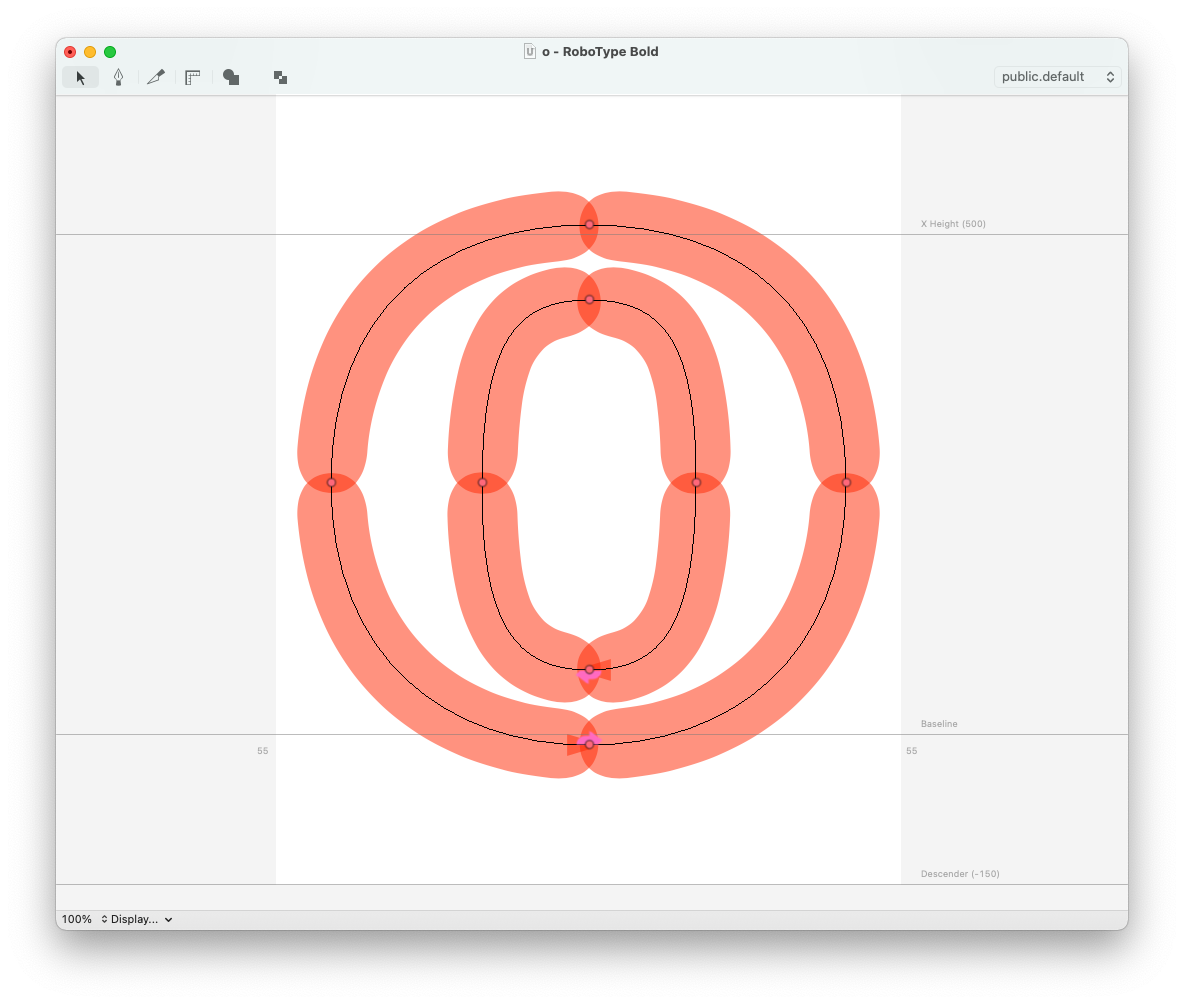
This drawing approach will keep working on RoboFont 4.0, but it is deprecated. It is considerably slower than Merz, and RoboFont 4.0 sets a resolution limit to mojo.drawingTools in order to preserve the user experience from rendering delays. The following screenshot is made using the WurstSchreiber extension – still using mojo.drawingTools – at 100%. So far, so good.
But this is what happens if the users zoom in at 500%. The resolution limit kicks in, and contours become blurry.
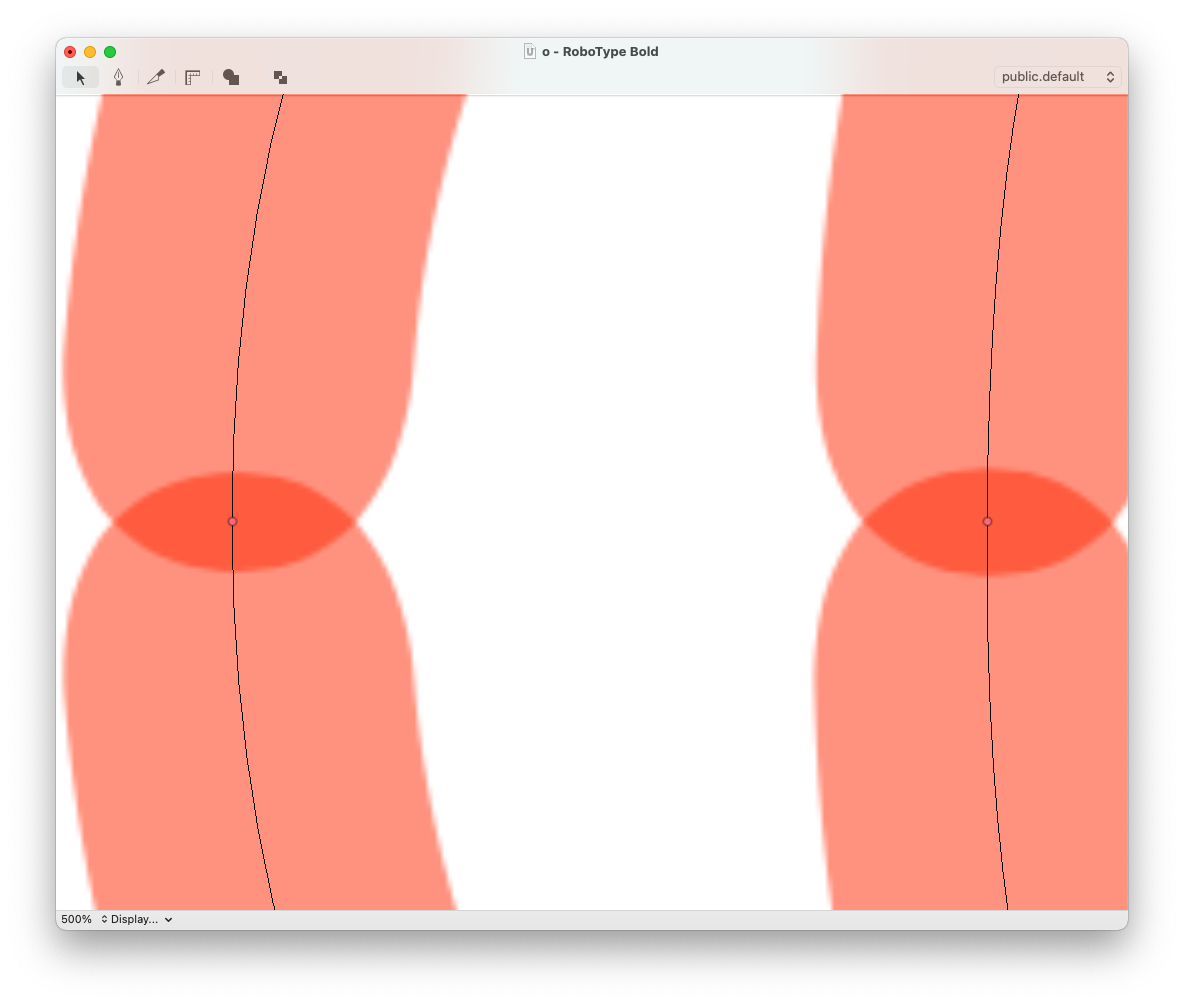
Not ideal, but a compromise. For this reason, the RoboFont team encourages extension developers to update their tools to Merz. Most extensions will become faster, and the object-oriented approach of Merz will make drawing code better adhere to the tool object structure.
The new approach
The following example uses Merz. You can run this code in the Merz Playground extension.
myGlyph = CurrentGlyph()

# a layer for the glyph and the baseline
groupLayer = container.appendBaseSublayer(
    size=(myGlyph.width, myGlyph.font.info.unitsPerEm)
)

glyphLayer = groupLayer.appendPathSublayer()
glyphPath = myGlyph.getRepresentation("merz.CGPath")
glyphLayer.setPath(glyphPath)

lineLayer = groupLayer.appendLineSublayer(
    startPoint=(0, 0),
    endPoint=(myGlyph.width, 0),
    strokeWidth=1,
    strokeColor=(1, 0, 0, 1)
)
Visual elements are initiated with their own properties. They are grouped into a hierarchy, the line and the glyph live into a group layer which is stored inside the view container.
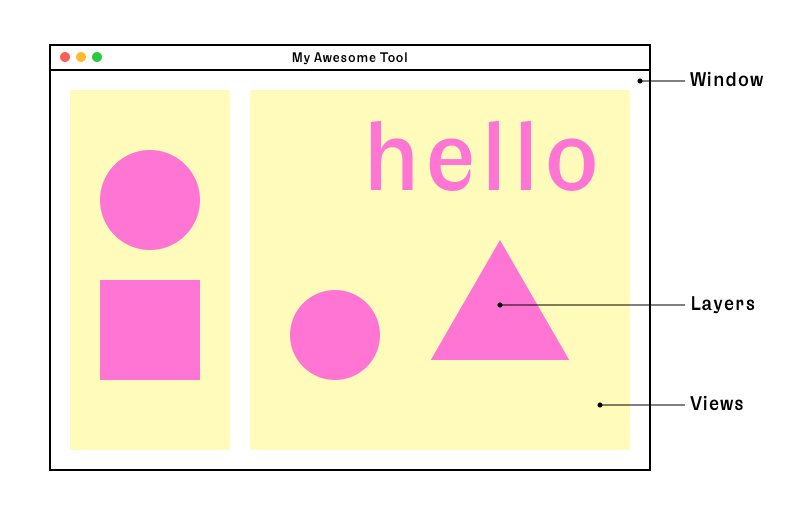
In fact, Merz layers are organized into a tree hierarchy. Layers can be nested in sublayers and grouped into containers. At the top of the hierarchy, there is a view. Above views, you’ll find a window.
The Merz Playground extension provides a view “free of charge”, which will contain the layers created in the code. Outside the playground, you can use Merz to render layers in vanilla/ezui views or in RoboFont’s glyph editor. Here’s a variation of the previous example adapted to render into a ezui EZWindow. You can run the following code from RoboFont’s scripting window:
import ezui

class GlyphVisualizer:

    def __init__(self):

        myGlyph = CurrentGlyph()

        content = """
        * MerzView    @merzView
        """
        descriptionData = dict(
            merzView=dict(
                backgroundColor=(1, 1, 1, 1),
                delegate=self
            ),
        )

        self.w = ezui.EZWindow(
            title="Glyph Visualizer",
            content=content,
            size=(myGlyph.width, myGlyph.font.info.unitsPerEm),
            descriptionData=descriptionData,
            controller=self
        )

        merzView = self.w.getItem("merzView")
        container = merzView.getMerzContainer()

        # a layer for the glyph and the baseline
        groupLayer = container.appendBaseSublayer(
            size=(myGlyph.width, myGlyph.font.info.unitsPerEm),
            backgroundColor=(1, 1, 1, 1)
        )

        glyphLayer = groupLayer.appendPathSublayer(
            position=(0, -myGlyph.font.info.descender)
        )
        glyphPath = myGlyph.getRepresentation("merz.CGPath")
        glyphLayer.setPath(glyphPath)

        groupLayer.appendLineSublayer(
            startPoint=(0, -myGlyph.font.info.descender),
            endPoint=(myGlyph.width, -myGlyph.font.info.descender),
            strokeWidth=1,
            strokeColor=(1, 0, 0, 1)
        )

        self.w.open()


if __name__ == '__main__':
    GlyphVisualizer()
Great, right? To improve the script, we should tie the rendering to user events. Each time the CurrentGlyph changes, our GlyphVisualizer tool should update. Here comes Subscriber), the other major new feature of RoboFont 4.0. Combined with Subscriber, Merz really shines. See how simple it is to listen to changes in the glyph data and update their representation on screen:
import ezui
from mojo.subscriber import Subscriber, registerRoboFontSubscriber
from mojo.roboFont import CurrentGlyph

class GlyphVisualizer(Subscriber, ezui.WindowController):

    debug = True

    def build(self):
        self.glyph = CurrentGlyph()

        content = """
        * MerzView    @merzView
        """
        descriptionData = dict(
            merzView=dict(
                backgroundColor=(1, 1, 1, 1),
                delegate=self
            ),
        )

        self.w = ezui.EZWindow(
            title="Glyph Visualizer",
            content=content,
            size=(self.glyph.width, self.glyph.font.info.unitsPerEm),
            descriptionData=descriptionData,
            controller=self
        )

        merzView = self.w.getItem("merzView")
        container = merzView.getMerzContainer()

        # a layer for the glyph and the baseline
        self.backgroundLayer = container.appendBaseSublayer(
            size=(self.glyph.width, self.glyph.font.info.unitsPerEm),
            backgroundColor=(1, 1, 1, 1)
        )

        self.glyphLayer = self.backgroundLayer.appendPathSublayer(
            position=(0, -self.glyph.font.info.descender)
        )
        glyphPath = self.glyph.getRepresentation("merz.CGPath")
        self.glyphLayer.setPath(glyphPath)

        self.lineLayer = self.backgroundLayer.appendLineSublayer(
            startPoint=(0, -self.glyph.font.info.descender),
            endPoint=(self.glyph.width, -self.glyph.font.info.descender),
            strokeWidth=1,
            strokeColor=(1, 0, 0, 1)
        )

    def started(self):
        self.w.open()

    def glyphEditorDidSetGlyph(self, info):
        self.glyph = info['glyph']
        glyphPath = self.glyph.getRepresentation("merz.CGPath")
        self.glyphLayer.setPath(glyphPath)
        self.backgroundLayer.setSize((self.glyph.width, self.glyph.font.info.unitsPerEm))
        self.lineLayer.setEndPoint((self.glyph.width, -self.glyph.font.info.descender))


if __name__ == '__main__':
    registerRoboFontSubscriber(GlyphVisualizer)
Merz layers have a geometry – a combination of position, size, and affine transformation attributes – and several graphical properties as color, bezier path, text, font, and so on. You can find the details on the Merz documentation. Every attribute can be set when a layer is created and most properties can be changed after the layer creation. These layer attributes affect the rendering on the screen effortlessly. See how simple it is to implement a 🌞/🌛 mode switch for our previous example:
import ezui
from mojo.subscriber import Subscriber, registerRoboFontSubscriber
from mojo.roboFont import CurrentGlyph


class GlyphVisualizer(Subscriber, ezui.WindowController):

    debug = True

    def build(self):
        self.glyph = CurrentGlyph()

        content = """
        * VerticalStack @stack
        > * MerzView    @merzView
        > (🌛)          @button
        """
        descriptionData = dict(
            merzView=dict(
                backgroundColor=(1, 1, 1, 1),
                delegate=self
            ),
            stack=dict(
                alignment="center"
            ),
        )

        self.w = ezui.EZWindow(
            title="Glyph Visualizer",
            content=content,
            size=(self.glyph.width, self.glyph.font.info.unitsPerEm),
            descriptionData=descriptionData,
            controller=self
        )

        merzView = self.w.getItem("merzView")
        container = merzView.getMerzContainer()

        # a layer for the glyph and the baseline
        self.backgroundLayer = container.appendBaseSublayer(
            size=(self.glyph.width, self.glyph.font.info.unitsPerEm),
            backgroundColor=(1, 1, 1, 1)
        )

        self.glyphLayer = self.backgroundLayer.appendPathSublayer(
            position=(0, -self.glyph.font.info.descender)
        )
        glyphPath = self.glyph.getRepresentation("merz.CGPath")
        self.glyphLayer.setPath(glyphPath)

        self.lineLayer = self.backgroundLayer.appendLineSublayer(
            startPoint=(0, -self.glyph.font.info.descender),
            endPoint=(self.glyph.width, -self.glyph.font.info.descender),
            strokeWidth=1,
            strokeColor=(1, 0, 0, 1)
        )

    def started(self):
        self.w.open()

    def glyphEditorDidSetGlyph(self, info):
        self.glyph = info['glyph']
        self.w.resize(self.glyph.width, self.glyph.font.info.unitsPerEm)
        glyphPath = self.glyph.getRepresentation("merz.CGPath")
        self.glyphLayer.setPath(glyphPath)
        self.backgroundLayer.setSize((self.glyph.width, self.glyph.font.info.unitsPerEm))
        self.lineLayer.setEndPoint((0, -self.glyph.font.info.descender))
        self.lineLayer.setEndPoint((self.glyph.width, -self.glyph.font.info.descender))

    def _switchToDarkMode(self):
        self.glyphLayer.setFillColor((1, 1, 1, 1))
        self.backgroundLayer.setBackgroundColor((0, 0, 0, 1))

    def _switchToLightMode(self):
        self.glyphLayer.setFillColor((0, 0, 0, 1))
        self.backgroundLayer.setBackgroundColor((1, 1, 1, 1))

    def buttonCallback(self, sender):
        if sender.getTitle() == "🌛":
            self._switchToDarkMode()
            sender.setTitle('🌞')
        else:
            self._switchToLightMode()
            sender.setTitle('🌛')


if __name__ == '__main__':
    registerRoboFontSubscriber(GlyphVisualizer)
Check these extensive examples of combined usage of
SubscriberandMerz