From tool to extension ↩
- Preparing to build an extension
- Building the extension
- Creating a Git repository
- Distributing the extension
- Maintaining the extension
This tutorial explains how to convert an existing tool into an extension.
If you know in advance that you want to build an extension, you can create your tool from the beginning as one. Have a look at the Boilerplate Extension for a template.
Preparing to build an extension
Organizing files and folders
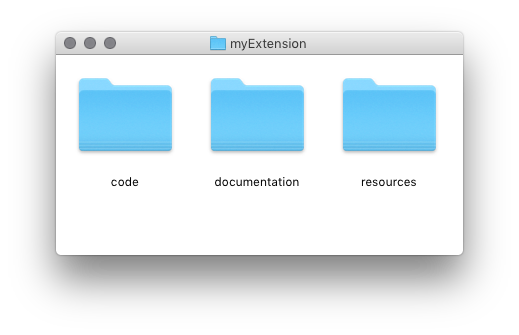
In order to build an extension you’ll first need to organize your files according to the Extension Folder Structure – separating code, documentation and resources:
- lib folder required
-
This is where the actual extension code goes.
It may contain multiple subfolders, which should be named using reverse domain syntax without dots.
- documentation folder optional
-
Contains the documentation in html or markdown format. Markdown files are converted to html when the extension is built.
Must include an
index.htmlorindex.mdfile. - resources folder optional
- Contains additional files used by the extension, such as images, compiled tools, etc.
Preparing extension metadata
Every extension must also include a metadata file with information such as:
- extension name required
- developer credits required
- version number required
- license optional
This information is added when building the extension.
Preparing metadata for Mechanic 2
If you wish to make your extension available to all RoboFont users, you’ll also need to provide additional data for Mechanic 2:
- extension repository required
- tags required
- icon optional
This information must be added to the Mechanic 2 server after the extension is built.
Building the extension
When all the data is ready and it’s time to build the extension, there are two options:
Use the attribute expireDate in info.plist to set an expiration date for trial extensions.
After you build the extension, you will have two versions of the code: the ‘unpackaged’ source, and the built extension package. You will need to make a decision about your workflow:
-
Continue treating the ‘unpackaged’ code as the source, and the extension as ‘packaged code’ for distribution.
-
Retire the ‘unpackaged’ code, and treat the extension as the (only) source code from now on.
Creating a Git repository
If you haven’t done so yet, now is a good time to create a Git repository to manage the changes in your code over time. You can choose between a public repository (for free & open-source extensions) or a private one (for custom or commercial extensions).
Distributing the extension
Extensions can be distributed to other RoboFont users using Mechanic.
The Mechanic extension allows users to install and manage extensions of all kinds, and to get updates as soon as they are made available by the developer.
- Open-source extensions
- can be added to the Mechanic server, so they are listed in the Mechanic website
- Commercial extensions
- can be published in the Extension Store, where users can pay for a license
- Custom extensions
- can be distributed directly using
.mechanicfiles or custom extension streams
Maintaining the extension
As others start using your extension, you may receive bug reports, feature requests, comments etc. If your extension is open-source, you may also receive contributions by other developers. Use the tools provided by your Git platform of choice to manage the development process using issues, merge requests, branches, etc.
Publishing updates
To make an update of your extension available to users via Mechanic it is necessary to increase the extension’s version number. The next time Mechanic checks for updates, it will show an ‘update available’ notification next to the extension name.