Glyph Editor ↩
The Glyph Editor is where all visual glyph data is created and edited, one glyph at a time.
The Glyph Editor can be opened by double-clicking a glyph cell in the Font Overview.
Interactive tools
The Glyph Editor offers a set of basic tools to interact with glyph shapes:


Many other interactive tools are available as extensions.
Glyph data
A glyph may contain different kinds of visual and non-visual data.
Visual glyph data can be edited interactively in the Glyph View:
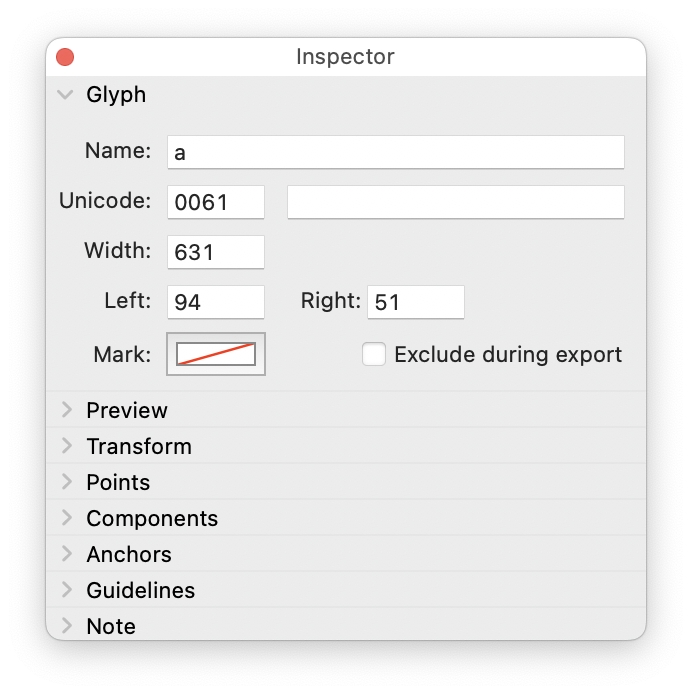
All kinds of glyph data can be edited using the Inspector panel.
Display options
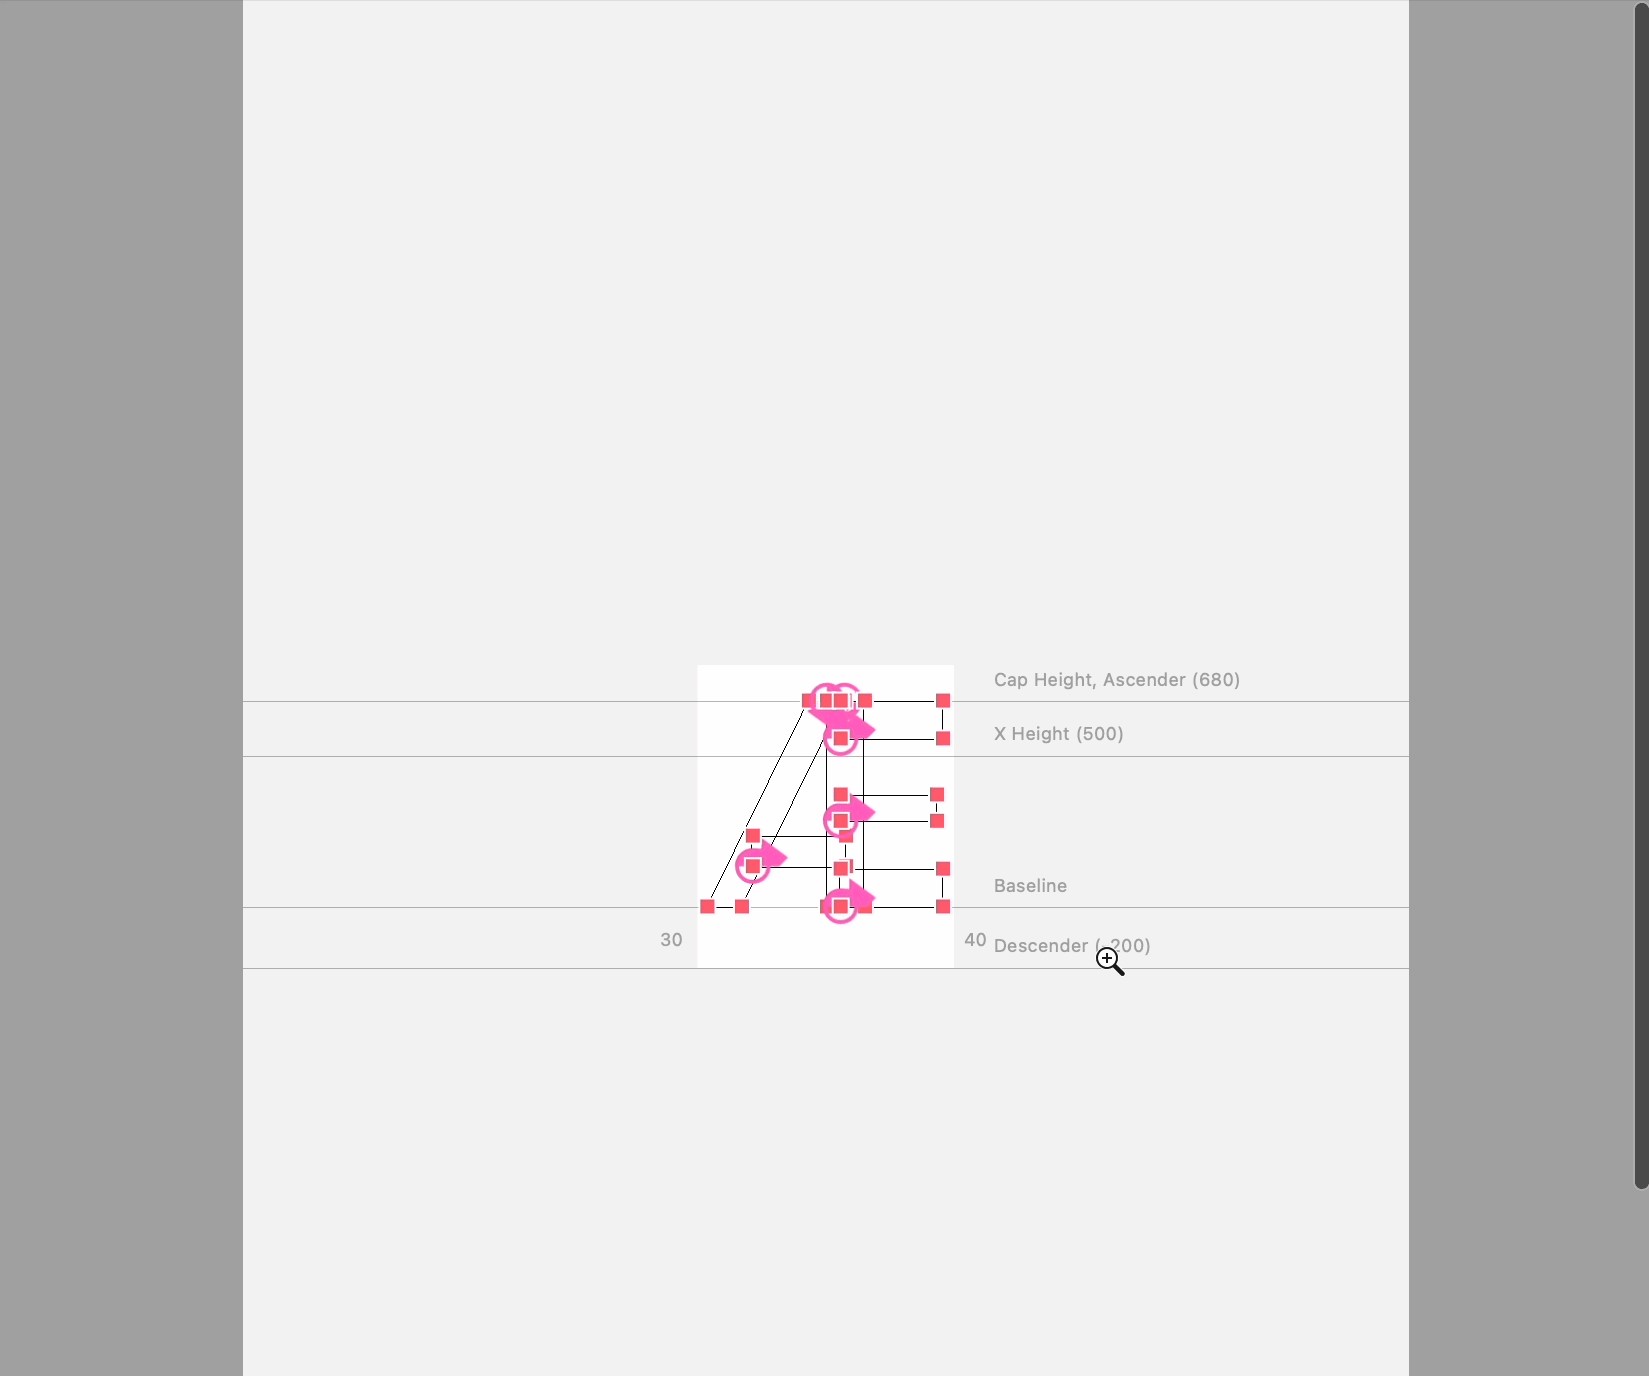
The Glyph View can display several types of visual glyph data. Use the Display options menu (bottom left) to toggle the visibility of each display layer.
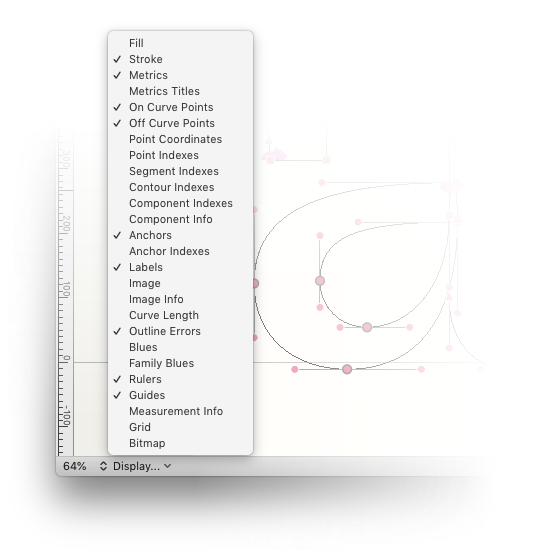
Display options allow you to optimize the Glyph Editor display to the task at hand, hiding irrelevant information and leaving only what’s relevant visible.
Hold ⌘ down while changing display options to apply the changes to all glyph editors.
You can assign a short cut to toggle each display option from the preferences (glyph view > hot keys)
Navigation
Zooming and panning
Use the shortkeys Cmd + / Cmd - or Alt ⌥ + scrollwheel to zoom in / out in the Glyph View.
Hold ⇧ for speed zooming in / out.
Combine spacebar + ⌘ + mouse to use the animated zoom.
Use Cmd 0 to fit the glyph contents into the view.
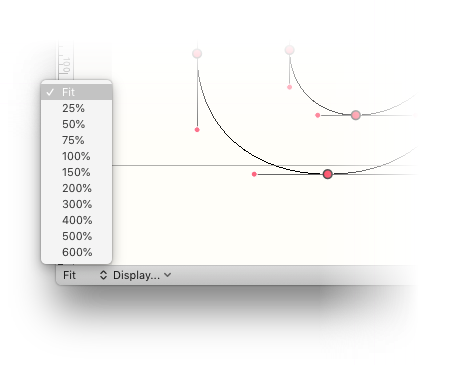
To choose an exact zoom level, use the zoom menu at the bottom left:
To move around in the Glyph View, press the space bar and drag, or use the scrollwheel.
Preview Glyph
Use the shortcut < to preview the glyph.
While pressing <, you can add the modifier Alt ⌥ and use the horizontal arrows to jump to previous and next glyph. If you use vertical arrows, you can move through the glyph layers.
Jump to previous / next glyphs
Use the shortkeys Cmd+( and Cmd+) to switch to the previous / next glyph.
The previous / next glyph order may refer to the whole font, or just to the selected Smart Sets, depending on the settings in the Glyph View Preferences.
Jump to Glyph popup
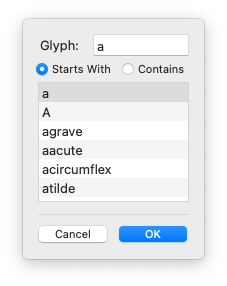
To go to any other glyph in the font, press J to open the Jump to Glyph pop-up window, and start typing the glyph name. The dialog will show a list of possible glyphs to choose from.
Transform Mode
Transform allows you to apply scale, rotation and skew transformations interactively to different types of objects.
Contextual menu
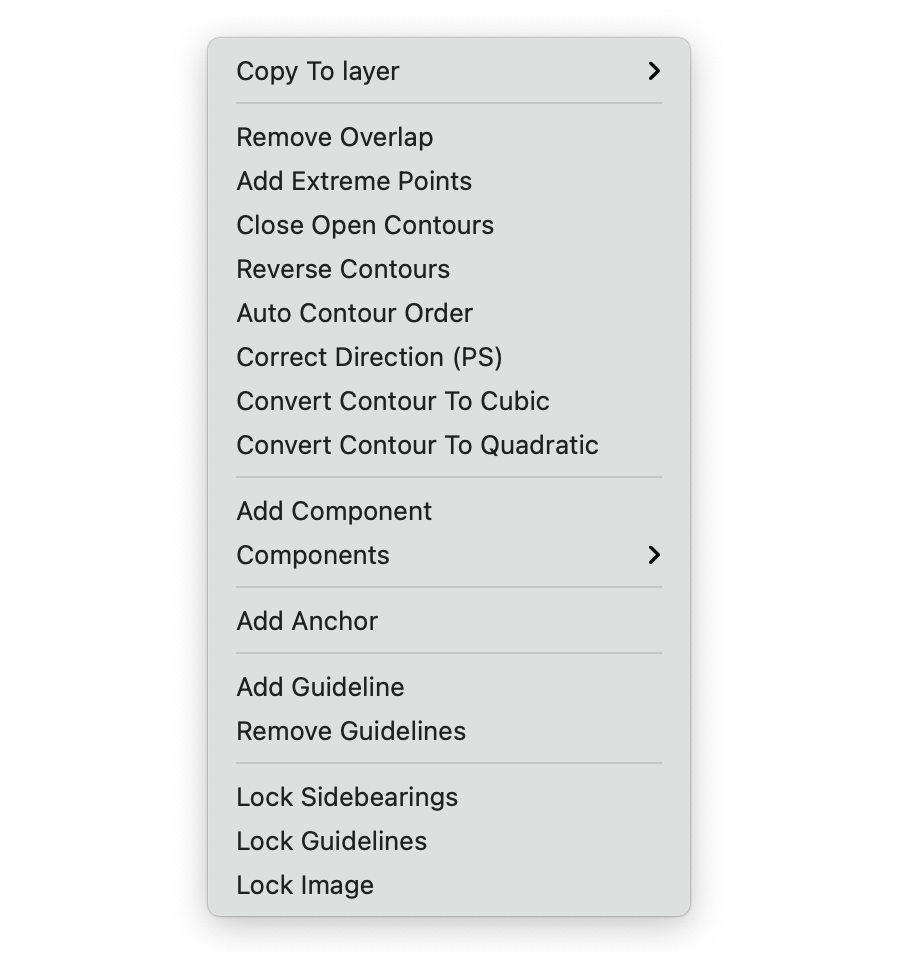
The contextual menu can be opened with a right-click using the Editing Tool.
| action | description |
|---|---|
| Copy To Layer → | It opens a submenu listing all the other layers where the contents of the current layer can be copied |
| Remove Overlap | Remove overlaps in all contours. |
| Add Extreme Points | Add extreme points to all contours. |
| Close Open Contours | Close all open contours. |
| Reverse Contours | Reverse all contours. |
| Auto Contour order | Try to order the contours. |
| Correct Direction (PS) | Correct contour direction (PostScript) in all contours. |
| Correct Direction (TT) | Correct contour direction (TrueType) in all contours. |
| Convert Contour to Cubic | Convert selected quadratic beziers to cubic |
| Convert Contour to Quadratic | Convert selected cubic beziers to quadratic |
| Add Component | Open the Add Component sheet. |
| Components → | It opens a submenu listing link to all components reference glyphs and a "Decompose All" option. |
| Add Anchor | Open an Add Anchor sheet. |
| Add Guideline | Adds a guideline to the glyph. |
| Remove Guidelines | Remove all glyph guidelines. |
| Lock Sibearings | Lock all sidebearings (global setting). |
| Lock Guidelines | Lock all guidelines (global setting). |
| Lock Image | Lock all images (global setting). |
Clicking on different types of glyph objects reveals a specific contextual menu for each:
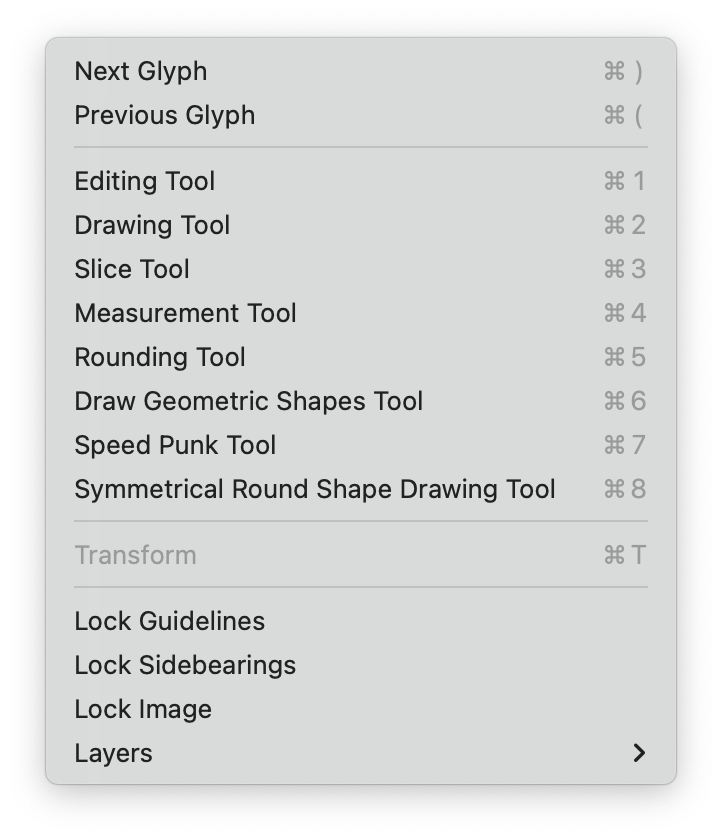
Glyph menu
While the Glyph Editor is active, the options in the Glyph menu become available.